Diary Free Cream Cheese


Vegan-Cream-Cheese-Intro

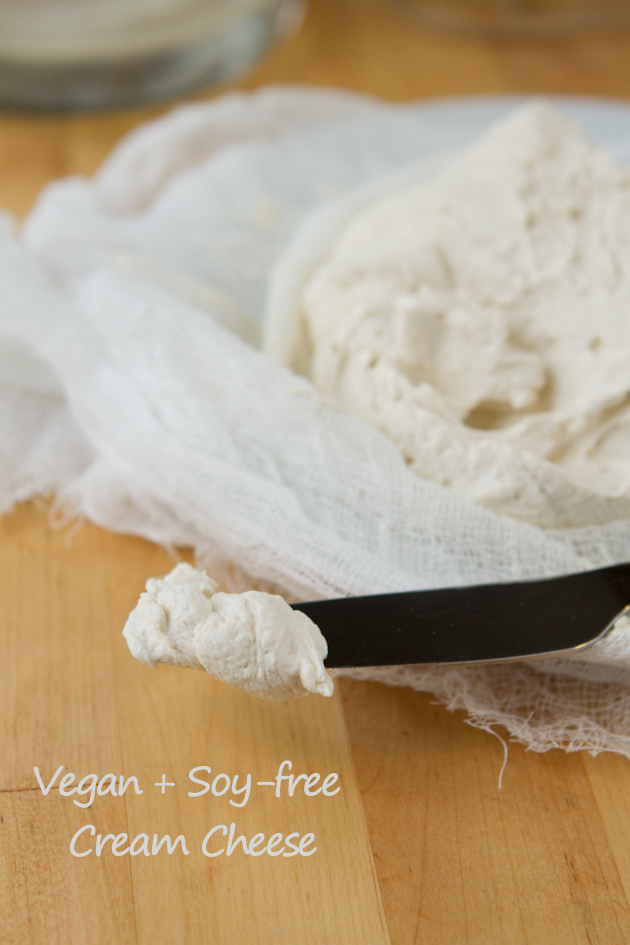
With all the cream cheese recipe I posted so fat I thought that, it is time for me to post a diary free, vegan, soy free, sugar free, gluten free, homemade recipe for my vegan, lactose intolerant friends out there. I came across this recipe at Health Pursuit blog site, offered by an holistic nutritionist.

Ingredients:
  • 1½ cups raw cashew, soaked for 12-24 hours
  • ¼ cup raw organic apple cider vinegar
  • 2 tablespoons fresh lemon juice
  • 2-3 tablespoons water
Instructions:
  1. Place raw cashew in a glass dish and fill with filtered water. Cover and place in the fridge to soak for 24 hours.
  2. Then, drain and rinse the cashews with water.
  3. Drop cashews in a blender or food processor and add remaining ingredients. Begin with 2 tablespoons of water and work up to 3 tablespoons if needed. The water is in the recipe just to help the mixture get as smooth as possible in the blender.
  4. Blend for 2 minutes or so, until it’s as smooth as smooth can be. Set aside for a couple of hours.
  5. Drape a tall plastic container with cheesecloth. For thinner, more creamy cream cheese, double up the cloth. For a firmer cheese, use 1-ply. I chose to double up.
  6. Spoon the cream cheese mixture onto the cheesecloth.
  7. Pull up the sides of cheesecloth and tie with a piece of string or twine.
  8. Hang the cheese bag on a kitchen utensil and rest it inside a vase or juice pitcher. It just has to be extended in the air so that the extra liquids can drain from it.
  9. Leave in a warm place for at least 24 hours. Then, remove from the hanging setup you’ve created, remove cheesecloth and serve as is or add flavors such as herbs, vanilla or a touch of sugar.
  10. Enjoy.

You can use these vegan, diary free cream cheese to make vegan, diary free versions of Santa Hat Cream Cheese Bites, Cream Cheese Mints, Chocolate Delight, Chocolate Cheesecake, and No Bake Mini Pumpkin Cheesecake. Hope you enjoy these vegan friendly versions of the wonderful treats, thanks to the wonderful homemade healthy diary free cream cheese recipe. I would love to hear your comments on how any of these treats comes out with the homemade cream cheese. Happy reading.
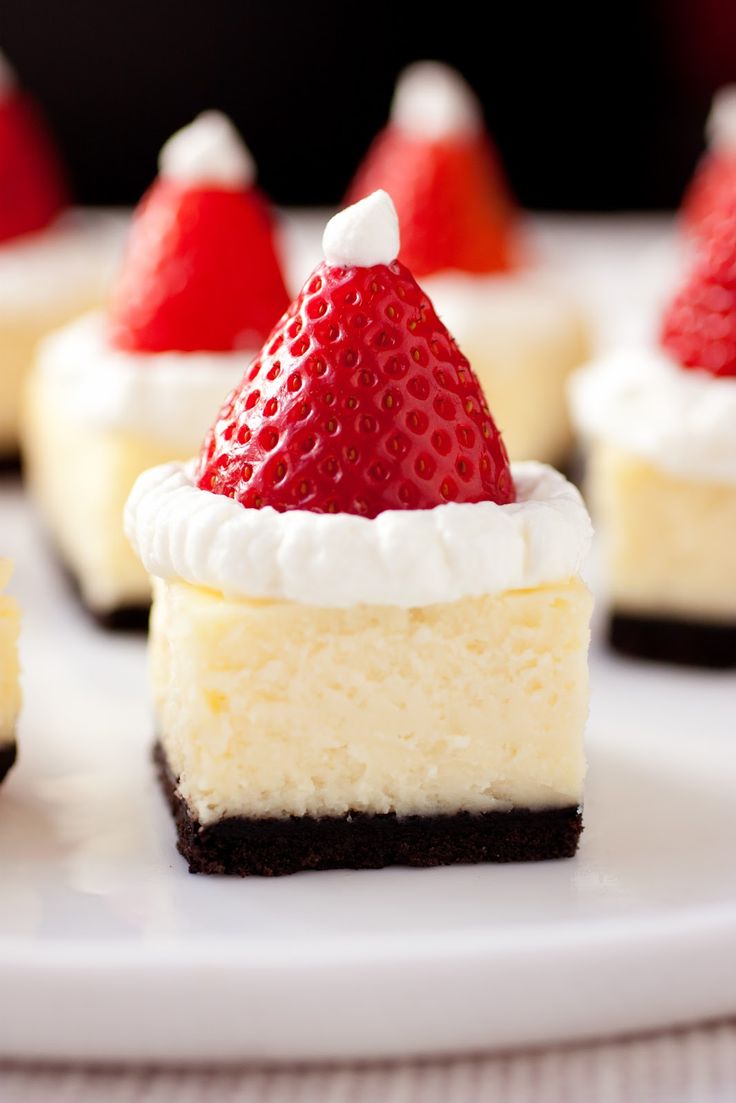
Santa Hat Cheesecake Bites


santahat

Today being Christmas Eve I wanted to share this special treat with you that I hope you will enjoy. The recipe yields 25 bite size treats.

Ingredients for Chocolate Crumb Crusts:

  • 1  Stick Butter (I used I believe It’s Not Butter for healthy substitution)
  • 1-1/2 cup (about 45 wafers, crushed) reduced fat vanilla wafer crumbs
  • 2 tablespoons Splenda
  • 6 tablespoons Hershey’s Unsweetened Cocoa

Cheesecake Ingredients:

  • 1/4 cup (1/2 stick) butter (I used I believe It’s Not Butter for healthy substitution)
  • 2 (8 oz) pkg fat free cream cheese, softened
  • 1/8 cup + 1 Tbsp Splenda
  • 2 large eggs
  • 1/2 tsp vanilla extract
  • 1 1/3 cups white chocolate chips
  • 1/3 cup fat free half & half, divided

Topping Ingredients:

  • 25 fairly small, fresh strawberries (or more if cutting more squares)
  • 1 (16 oz) pkg fat free cool whip

Instructions for Crust:

  1. Preheat oven to 325 degrees. Line an 8 by 8-inch baking dish with two large sheets of tinfoil (one going horizontally and one over the top of the other vertically. Make sure your sheets are long enough that you’ll have an overhang of foil over the edges of the pan. Also, be sure to mold it well to the pan).
  2. Brush foil with 1/2 Tbsp melted butter.
  3. In a mixing bowl, using a fork blend together crushed wafers and  melted butter until mixture is well combined and evenly moistened.
  4. Press mixture firmly into the bottom of the prepared baking dish (the bottom of a flat measuring cup or glass works well for pressing crust), set aside.

Instructions for Cheese Cake:

  1. In a large mixing bowl, using an electric hand mixer set on medium-low speed, blend together cream cheese and splenda until mixture is smooth, about 30 seconds.
  2. Add in eggs and vanilla extract and mix until well blended. In a separate microwave safe bowl, heat white chocolate chips with 1/3 cup half & half on 50% power in 30 second intervals, stirring after each interval until melted and smooth. Pour melted white chocolate mixture into cream cheese mixture and blend on low speed until combined. Tap bowl against counter top about 30 times to release some of the air bubbles then pour mixture over prepared crust in baking dish.
  3. Bake in preheated oven for 40 minutes then turn oven off and without opening oven door allow cheesecake to rest in warm oven for 15 minutes. Remove from oven and let rest at room temperature for 30 minutes, then cover with plastic wrap and freeze for 3 hours or refrigerate for 6 hours.
  4. Once cheesecake is fully chilled and set, remove from freezer or refrigerator and lift cheesecake out of pan using the foil overhang. Cut cheesecake into squares (I’d recommend cutting them just a bit larger the the width of your strawberries. Also it’s nice to keep some clean paper towels close by to clean your knife while cutting squares).

Instructions for Topping:

  1. To assemble: cut a flat top off of each strawberry and lay flat side down over top of cheesecake. Fill a pastry bag (or Ziploc bag and cut a small tip of corner) with fat free whipped cream and pipe around strawberry then finish with a small amount over the top of the “hat”. Serve immediately (for do ahead- you can make cheesecake the day before then assemble within an hour of serving the following day). Store in refrigerator in an airtight container.
  2. I processed the wafer in a food processor but if you don’t have one you can place them in a large Ziploc bag, seal bag and finely crush with a rolling pin .
  3. Recipe Source: cheesecake bites – I adopted the recipe from Cooking Classy, Santa hat inspired by – daisy’s world who adapted it from Erica’s Sweet Tooth.

Hope you have a wonderful and peaceful holiday with your loved ones. Please check out  and like my Facebook Page. Beside link to my blogs, I also share links from Vogue, Style, Elle, Health Magazine, Women’s Health, American Heart Association and much more. Happy Reading.

No Bake Coconut Delight


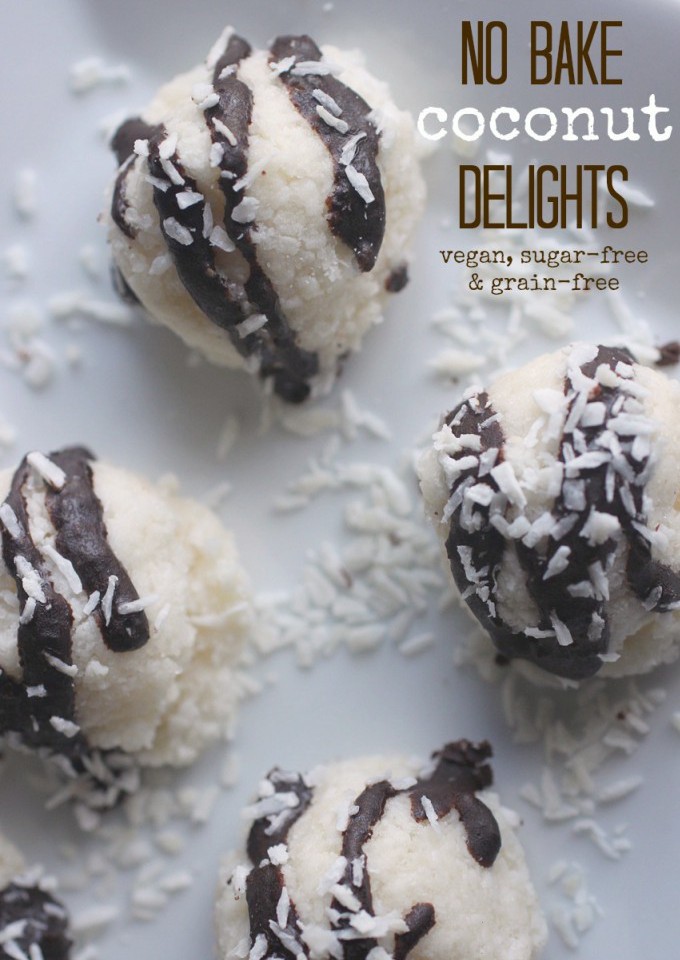
Well I though I would bring I more treat to share with you today that I came across. It is a very easy to make treat and require no baking. I hope you like it. Please share if you enjoy. I found this wonderful recipe at Whole New Mom Site.  Happy Reading.

Makes approximately 25 treats

Ingredients

  • 3 cups unsweetened, shredded coconut
  • 3/8 cup (6 Tablespoons) coconut oil
  • 1/2 cup sweetener
  • 2 teaspoon vanilla (I recommend alcohol free vanilla since you will not be baking these)
  • 3/8 teaspoon sea salt

Optional Toppings:

  • Hershey’s Sugar Free Semi-Sweet Baking Chips melted, for drizzle
  • shredded coconut

Methods:

  1. Put all ingredients in a food processor or blender.
  2. Combine until the mixture is blended and sticks together.  (Note: if you are using a high-powered blender like a Vitamix, do not turn your machine on high.  You will likely end up with Coconut Butter.  While it will be delicious, it won’t be these no bake cookies :-)!)
  3. Remove the mixture from the blender / food processor and form into desired shape.  I really like the cute little shapes I was able to make with this little cookie scoop.  If you have a little trouble with the “balls” falling apart but just gently press them back into the desired shape.
  4. Decorate with shredded coconut, cocoa or carob powder,  or melted chocolate (I love mine with melted chocolate chip, piped from a plastic baggie with a tiny hole cut in the corner) as desired.  Or leave them plain.  They are great just as is (but I do think a little coconut sprinkled on top adds a nice touch.
  5.  Leave to firm up on a plate.  They will firm up at room temperature.
  6. You really don’t need to store these in the fridge but I think they taste a tad bit better cold.
  7. Enjoy

Diary Free Whipped Cream


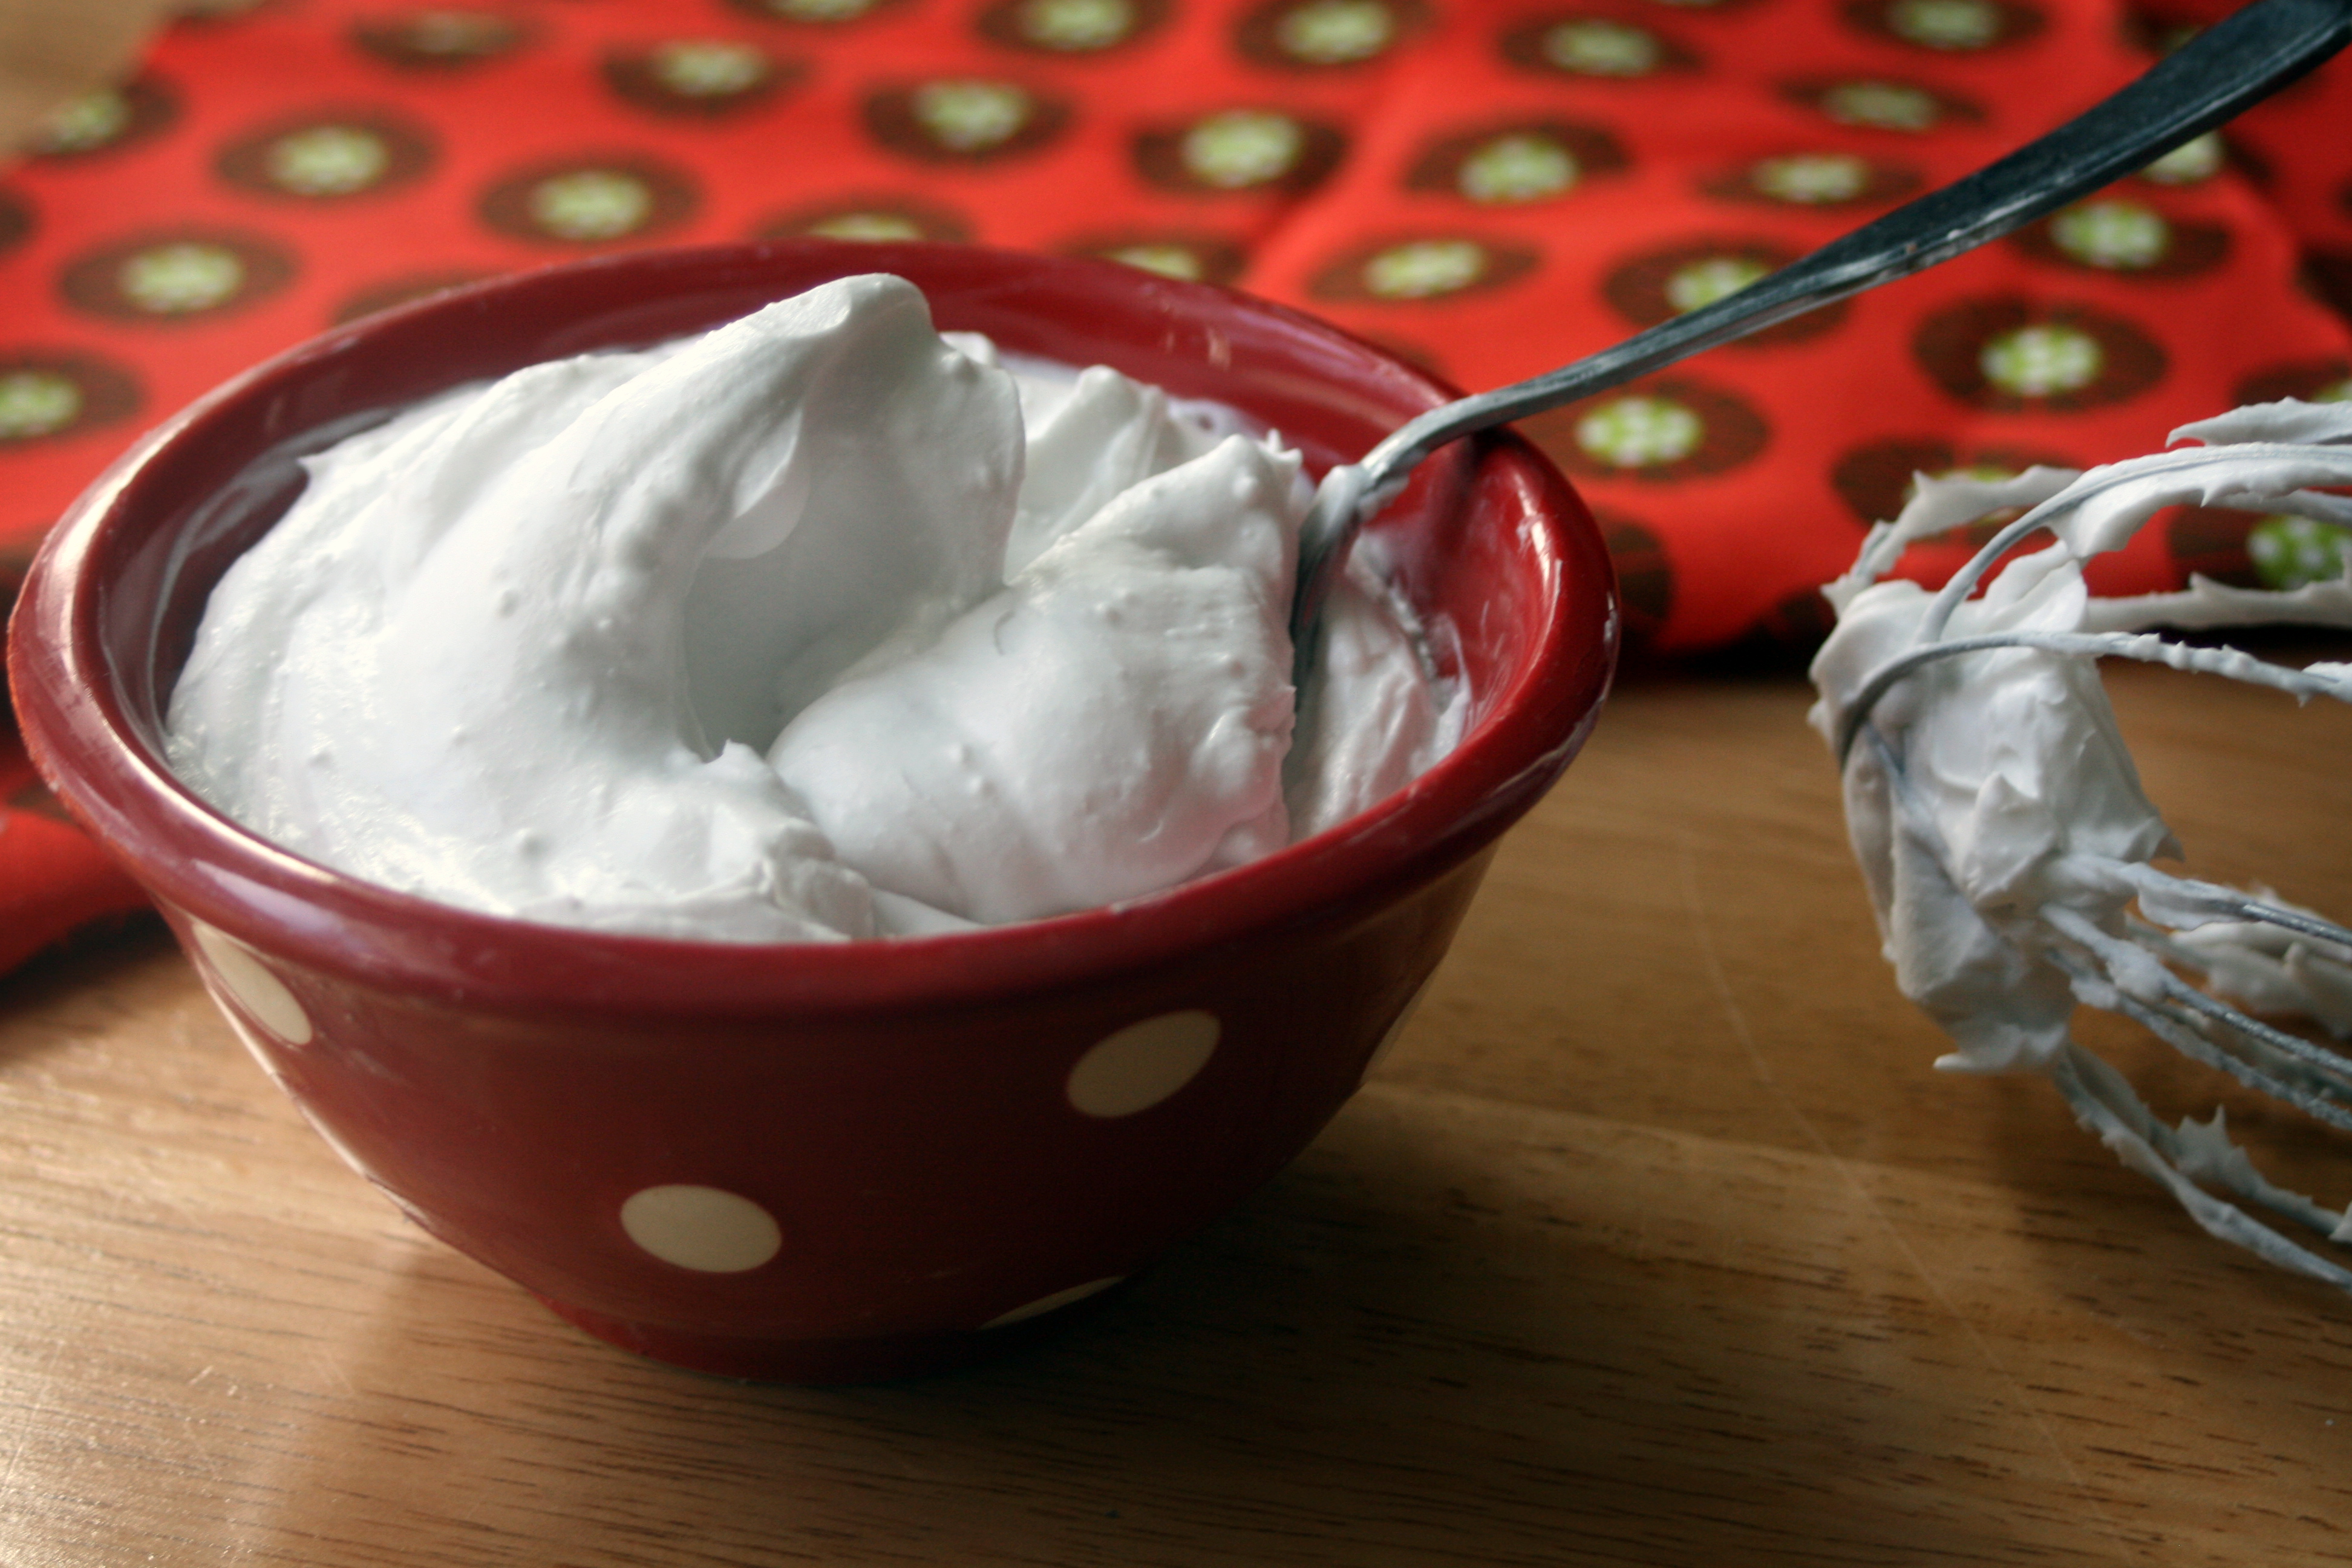
While I love buying the fat free version of whipped cream from the grocery store not everyone like is tolerant to the diary version of whipped cream. Hence, I am sharing a very easy to make diary free, vegan version of these delicious treat from Radiant life.  Happy reading.

Ingredients:

  • 1 can organic coconut milk
  • 1/2 tea spoon vanilla extract

Instructions:

  1. Place a can of coconut milk in the refrigerator for at least a couple hours, or better yet overnight. When chilled, the fatty part of the coconut milk will harden, separate and rise to the top. This is the cream you will use for whipping.
  2. Open and scoop the hardened coconut cream into a large bowl. If you want to get all fancy about it, you can actually flip the chilled can of coconut milk upside down and open from the bottom to pour the liquid off and reveal the cream underneath. Otherwise, simply open as normal, and use a spoon to scrape the cream from the top. Either method will get the job done.
  3. Also, it can help to stick the bowl in the freezer for about 15 minutes before using. This way, your cream will remain nice and chilled as you whip it.
  4. Using a hand held mixer, whip until light and fluffy. In order to prevent splattering the cream all over your kitchen, start to whisk at a lower speed at first. Slowly work to a higher speed to until you have incorporated enough air for desired fluffiness.
  5. You can add vanilla extract while whipping as you would with regular cream.
  6. Enjoy!

Homemade Fat Free Marshmallow


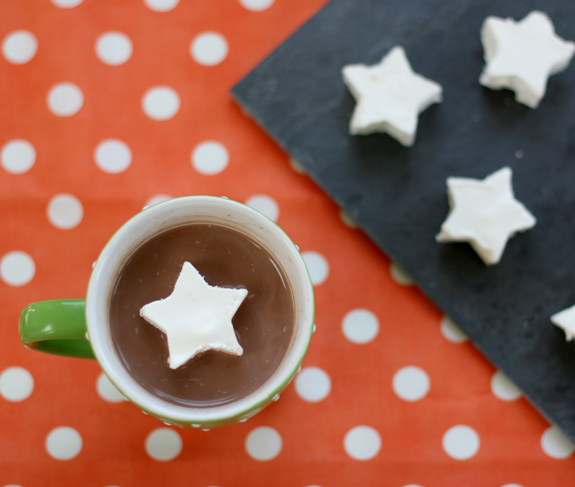
coolwhip121I thing that I don’t like about marshmallow is that it’s too sweet for me. That’s why I was very excited when I came across this low calorie homemade marshmallow recipe at Say Yes website.  I adopted to make it just the right sweet for me using fat-free whipped cream. Now you can enjoy fat-free marshmallows with your fat-free, sugar-free hot chocolate guilt free. Happy reading.

Ingredients:

  • 1 container of fat free whipping cream
  • 1/2 cup of water
  • Large mixing bowl
  • Spoon
  • Wax paper
  • Tray
  • Mini cookie cutter (can use any shape you want; I use something like this)

Instructions:

  1. Pour the whipped cream into a mixing bowl and add the 1/2 cup of water. Adding the water is necessary so it freezes well enough to cut out pieces that hold their shape.
  2. Mix well with a spoon until the water is incorporated evenly into the whipped cream.
  3. Line tray with wax paper. Pour the mixture into the tray (you’d like it ideally about at least 1/2 inch thick or more) and freeze at least 4 hours.
  4. Lift wax paper out of sheet and place on a table.
  5. Cut out shapes with your cookie cutter and place layers of the mini marshmallows between sheets of wax paper in a freezable container.
  6. Store in the freezer and pull out individual marshmallows as needed for fancy hot chocolate!

Fat Free Hot Chocolate Mix


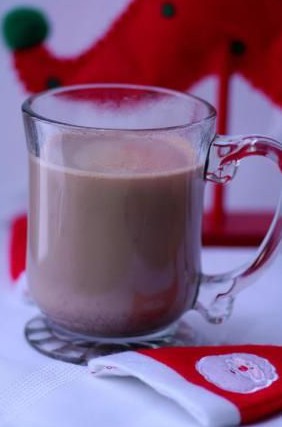
The holiday is not complete without enjoying warm hot chocolate with our loved ones in the cold holiday seasons. However, the hot chocolates can be full of calories and sugar. That’s today I am bringing a fat-free, sugar-free (diary free optional). Hope you enjoy the holidays and keep yourself warm with this healthy version of hot chocolate. Happy reading.

Ingredients:

  • 1 cup Splenda
  • 1/2 cup Unsweetened cocoa
  • 1 (1 oz) package fat-free sugar-free instant Vanilla pudding mix
  • 3 cups nonfat dry milk powder

Instructions:

  1. Mix all ingredients together.
  2. Store in airtight container.
  3. To make a cup of hot chocolate use 1/4 cup of mix and 1 cup cold water and heat up after mixing due to the instant pudding.
  4. Enjoy with homemade low calorie marshmallow.

Cream Cheese Mints


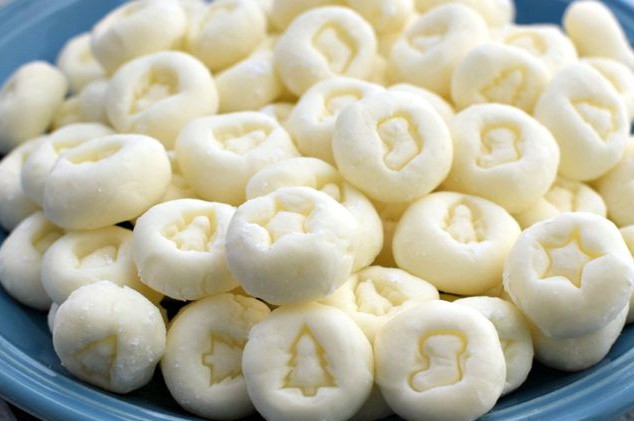
With just six days left in Christmas, I want share this mouth watering easy to make treat that will be easy to make and is healthy. I came across this recipe on Christy Jordan’s  Southern Plate.

Ingredients:

  • 8 ounces softened fat free cream cheese
  • 3 tablespoons I Cannot Believe It’s Not Butter softened
  • 7-8 cups cane sugar (start with 7, reserve 1 cup for dipping later; I use organic cane sugar but you can also use confectioner’s sugar)
  • 4-6 drops peppermint oil

Instructions:

  1. Place softened cream cheese, butter, and peppermint oil in a large mixing bowl. Beat with an electric mixer until fluffy.
  2. Add 7 cups of sugar and beat again until dough like in consistency. It will seem stiff and dry at first but after a minute or two it will come together. If it is too dry to form balls after you are done mixing (this is rare), add in a tablespoon of fat free milk and mix again.
  3. Form into small one inch balls and place on waxed paper.
  4. Roll each ball into sugar and flatten slightly with your fingertip, a fork, the back of a spoon, or a tiny seasonal stamp (something like this).
  5. Allow mints to dry for a few hours before storing. If they will be eaten in a day or two, I leave them out at room temp in an airtight container. For longer storage, place in the refrigerator.

This is a great treat to make with your family. After all, togetherness is a great holiday treat. Happy reading.


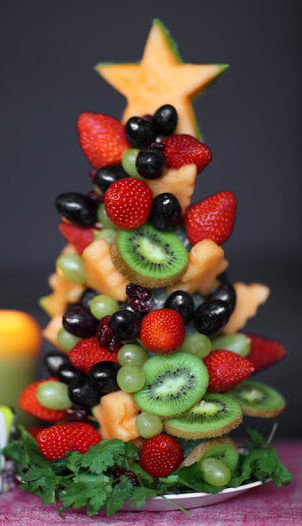
Edible Fruit Tree


You says you cannot enjoy your own unique edible fruit creation for the holidays with your family at the fraction of the cost as the professional made kind and look just as great. I just as excited so find this unique creation while searching for unique easy to make creative holiday recipes for you guys at the Ginger and Garlic Blog. Hope you enjoy creating with unique treat with your loved ones. Happy reading.
Ingredients
  • 1 styrofoam cone (small or medium size) from your local craft store. It can be something like this.
  • Toothpicks
  • Cookie cutters with various shapes (similar to these)
  • Assorted fruits  such as green and black grapes, strawberries, kiwis, raspberries, mountain-dew and a honeydew melon.
  • Cilantro for garnish.

Instructions:

  1. If you only have a white one then you can drape some green paper on a white cone or attach fruits very densely so it resembles more like a tree trunk.
  2. Using the cookie cutters create various shapes out of the melon slices.
  3. Attach toothpicks to the styrofoam cone. Attach one piece each of a fruit to a toothpick. (Think free-form; as the tree starts building you will know more about which fruit combinations are looking better and how densely packed you want your tree to be).
  4. Continue building the tree as dense as you want!
  5. Use cilantro leaves as grass garnish.
  6. Enjoy your new edible fruit tree!!

Healthy Egg Nog


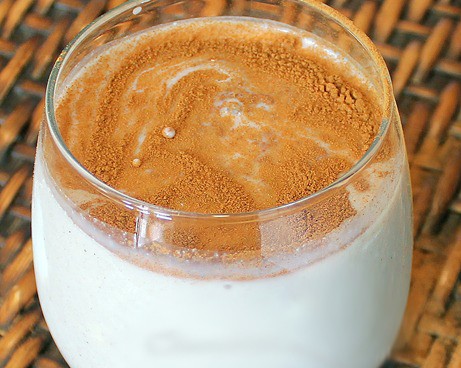
I got this wonderful recipe at the Chocolate-covered Katie website, who turned this traditional holiday treat into a healthy protein-rich recipe and today I want to share that recipe with you. Hope you enjoy that recipe. I used fat free lactose free milk.

Ingredients

  • 1 cup fat free lactose free milk  (1 can do 1/2 milk and 1/2 Silk creamer for a deliciously-rich shake; you can substitute full-fat coconut milk for non-diary vegan version)
  • 1/2 cup Mori-Nu silken-firm tofu
  • 1/2 tsp lemon juice (omit if desired)
  • 1/8 tsp salt
  • 2 tsp splenda or sugar
  • 1 nunaturals stevia packet, or 1 tbsp sugar (or evaporated cane juice, coconut sugar, etc.)
  • 1/2 tsp pure vanilla extract
  • 1/2 tsp cinnamon
  • 1/4 tsp each nutmeg and ginger
  • tiny dashcloves

Instruction

  1. Combine all ingredients and blend until smooth.
  2. Drink cold, or heat if desired. Recipe is single-serving and can be sugar-free, dairy-free, vegan, cholesterol-free, low-fat, and gluten-free. And no raw eggs!

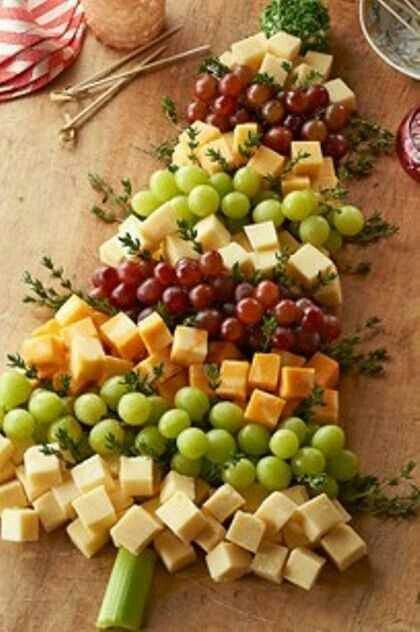
Christmas Tree Cheese Board


I know you guys are all getting ready for the thanks giving festivities. I for one loves easy to make and creative appetizers for the holidays. Hence, I was very excited when I saw this recipe in pinterest on my friend’s board, and I thought why not share it with my readers. I just adopted it for my preference. Hope you like it. If you like it, and have better adopted versions don’t forget to share with us with your comments.
cheesechristmastree
Ingredients:

  • 2 (8-ounce) bar Sharp Cheddar plain and flavored
  • 1 (8-ounce) bar Jack
  • 1 (8-ounce) bar Mozzarella
  • 1 (8-ounce) bar Swiss
  • Fresh thyme sprigs
  • Green and red grapes
  • 1 broccoli floret without stem
  • 1 small celery stick
Directions:

  1. Cut each bar of cheddar into 1-inch cubes.
  2. On large platter or cutting board, arrange cubes in rows to form tree shape, using different flavor for each row and separating flavors with thyme sprigs and rows of red and green grapes.
  3. For star on top, add the broccoli floret.
  4. For the bottom stem, add the celery stick.