Home Remedies For Skin


Today I want to bring to you some simple at home things you can do to make your skin healthier and treat every day skin problems. I came across this article at Women’s Magazine and I will share this with you today.  “Many of these over the counter treatments contain harsh chemicals that could be doing you and your skin more harm than good,” says New York-based dermatologist David Bank, M.D. “Studies have shown that you can take care of your skin with natural ingredients found at home.” Solve all of your skincare needs with these DIY fixes. Hope you start the year with beautiful glowing skin. Happy reading.
homemade-face-mask-for-oil-skin

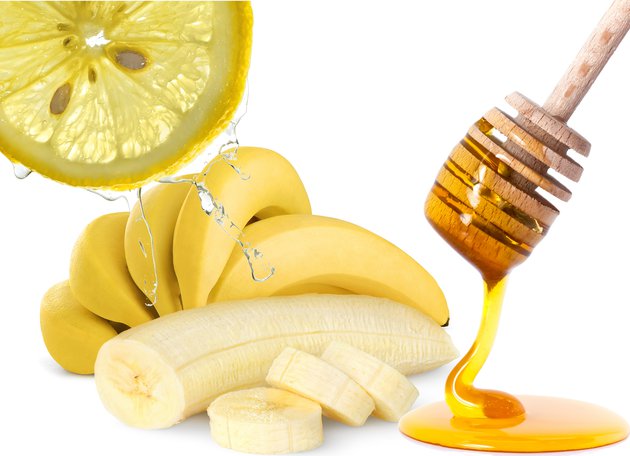
  1. For oily skin we have Banana and Honey mask. Excess oil in our face can lead to blemishes and pimples. Bananas are among the most widely consumed fruits on the planet and, according to the US. Department of Agriculture, Americans’ favorite fresh fruit. It is high in potassium, magnesium, vitamin C, and B6. It is also high in anti-oxidants, which can protect us from free radicals that are roaming around every day.   Moreover, according to Dr. Banks, “Banana contains zinc and vitamin C, which help fight and treat acne and control your skin’s natural oils.” The mask serves as the perfect acne prevention. Hence, in order to make this mask, mash one fully ripe banana, two tablespoons honey, and a few drops lemon juice together in a bowl. Apply to the face, and leave on for 15 to 20 minutes. Remove with a warm washcloth, and pat dry.
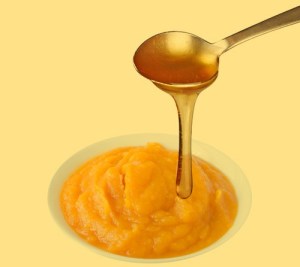
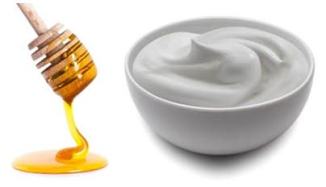
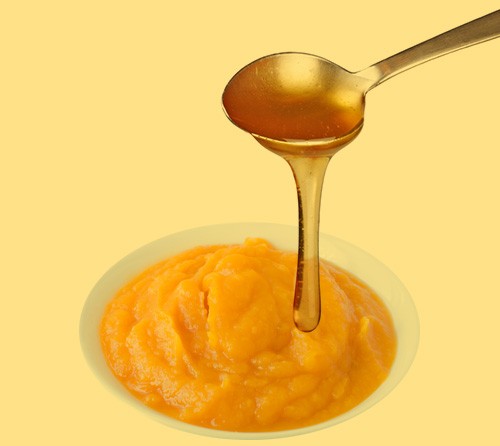
  2. pumpkinPumpkin Cream and Raw Honey Mask: “This mask is an amazing way to gently exfoliate your skin,” says Kimberly Smith, an aesthetician at Rejuvena Health and Aesthetics in Scottsdale, Arizona. The honey is anti-inflammatory and a great moisturizer as well. Because raw honey has anti-inflammatory benefits, it calms inflamed blemishes. In order to make this mask, mix one tablespoon organic canned pumpkin (not to be confused with pumpkin pie filling), a half-teaspoon organic full-fat cream or buttermilk, and one teaspoon raw honey. I use organic raw honey. Let the mixture sit for 15 minutes, and then rinse with warm water.
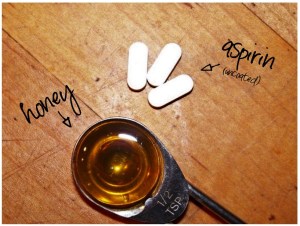
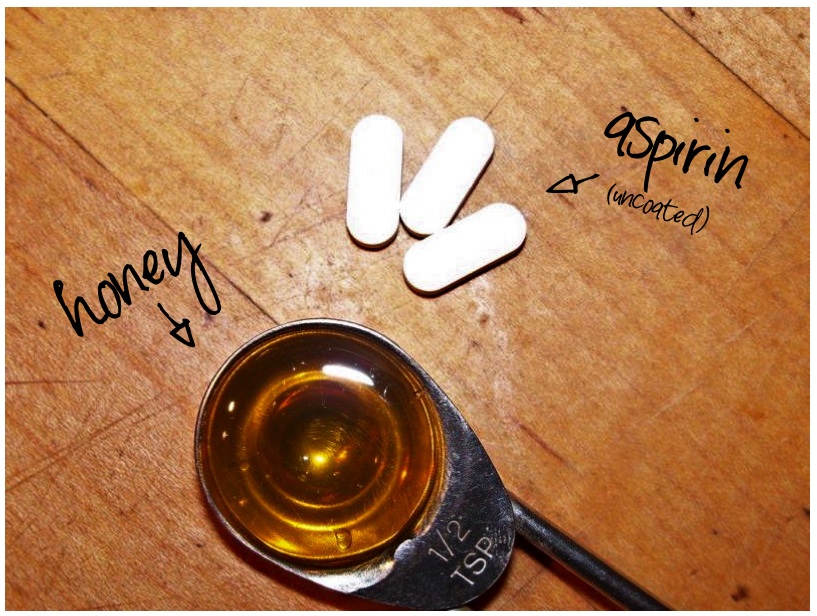
  3. DIY-HONEY-ASPRIN-FACE MASKThe next mask is Aspirin Face Mask. I myself have used this mask for blemished. According to Dr. Banks, this mask is great for treating specially meant for treating pimples or for soothing irritation caused by them. In order to make this mask crush one to three aspirin pills (or more if you need more coverage; I use uncoated aspirin) in a small dish, and mix in just enough water to turn the powder into a paste. Add a few drops of warmed honey (again I use raw organic honey). Apply the mixture to your face, and let it sit until it dries (about 10 minutes), then wash of
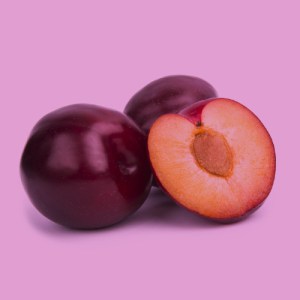
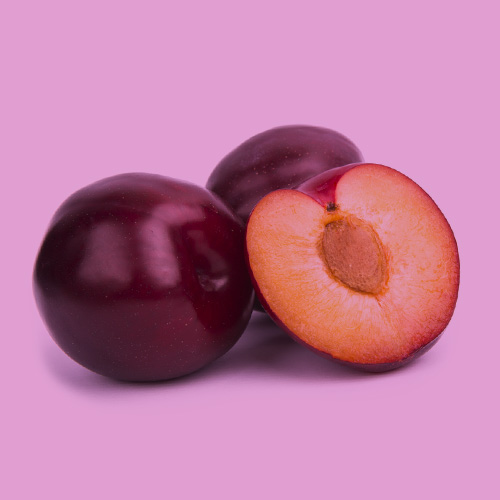
  4. plumRevitalizing Plum Mask: According to Smith, this mask is not only great mask for acne prone skin but also great for revitalizing all type of skin. On top of being a great source of vitamins A, C, E, K and B complex, it is also rich is beta carotene, iron, potassium, and magnesium as per Smith. When applied topically, plums “protect our cells from inflammation caused by free radicals and decrease the loss of elasticity that makes skin sag. People who suffer from acne also benefit because it helps to normalize oil production and revitalize dull, uneven-looking skin” says Smith. Hence, in order to make this make, puree three to four ripe plums, and mix with a half-teaspoon turmeric, one tablespoon raw honey, and one tablespoon organic Greek yogurt. Massage onto the skin, and leave on for 10 to 15 minutes. Rinse with warm
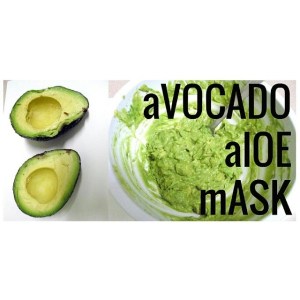
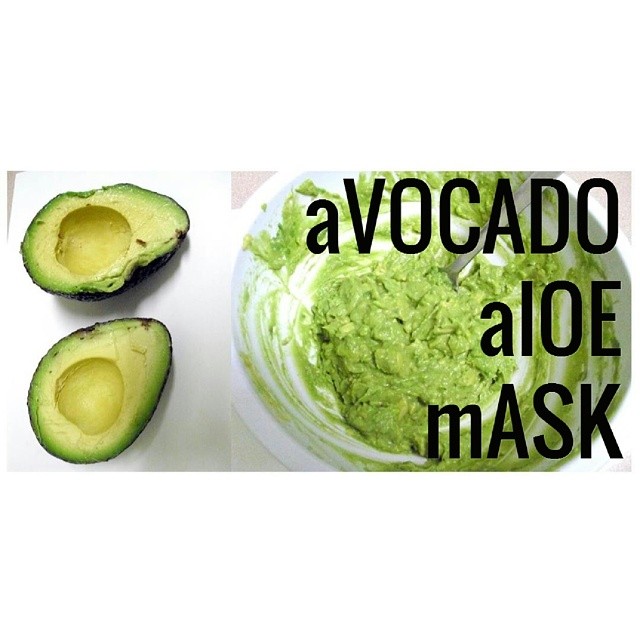
  5. avocadoAloe Vera and Avocado Face Mask: According to Banks, avocadoes are filled with fatty acids and vitamins, which hydrates skin’s cells, locks its moisture, and heal dry and flaky skin, while aloe vera is known for its soothing and anti-inflammatory properties. Hence in order to make this mask, mash half an avocado in a bowl. Mix in two tablespoons aloe vera gel, one tablespoon dry oatmeal, and one tablespoon warmed honey. Apply the mixture to clean, dry skin, and let sit for 15 minutes. Rinse with warm water and a warm washcloth.
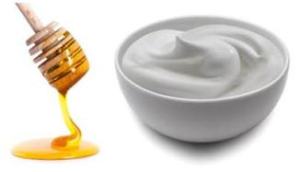
  6. lotionHoney Spiked Lotion: This is a simple process, just a little raw organic honey to moisturizer. According to Smith “It will make it hydrate better because honey is a natural humectant.” Humectants are key ingredients in many creams and cleansers because they hold onto moisture. Just make that you do not add too much honey because it can make the moisture too sticky. Hence, just mix couple of drop of raw organic honey to your regular moisturizer before applying.
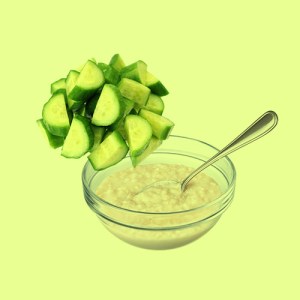
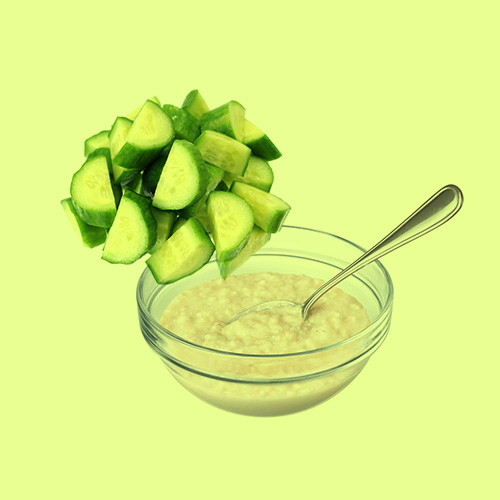
  7. 11-cucumber-oatCucumber and Oatmeal Face Mask: According to Dr. Banks, these two ingredients can significantly reduce inflammation in your face. Hence, in order to make this mask, just mix together one cup oatmeal with a finely chopped cucumber. Apply the mixture to you face for 20 minutes, and then rinse with a warm washcloth.
I would love to hear if any of these home remedies worked for you. If you have any home remedies of you own I would love to hear that as well.
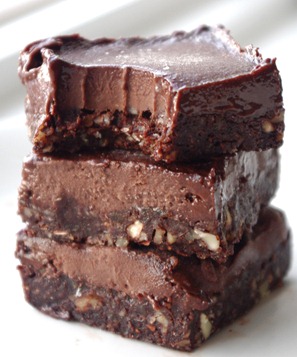
No Bake Chocolate Fudge


eatmore-bars


Hope you guys had a wonderful and marry Christmas. Today, I as usual, I want to share with another no bake easy to make treat, with vegan, gluten free and healthy as well. I came across this wonderful treat at Chocolate-covered Katie blog site. Happy readings.

Ingredients:

  • 1 cup pitted dates
  • 1/2 cup almonds, unsalted
  • 1/4 cup walnuts, unsalted
  • 1/4 cup unsweetened cocoa powder
  • 2 ripe bananas
  • 4 tbsp natural almond butter
  • 1/4 cup more unsweetened cocoa powder
  • 4 tbsp Organic unpasteurized honey (Note: strict vegans can use agave)

Instructions:

  1. Add dates in a bowl with warm water and allow them to soak for 30 minutes, then drain.
  2. Mix together dates, almonds, walnuts, and 1/4 cup cocoa powder in a food processor until well blended.
  3. Spread mixture in a 9×5 baking pan (or an 8×8 is okay) until evenly distributed, and press down gently with a spoon.
  4. Mix together bananas, almond butter, honey, and other 1/4 cup cocoa powder in the food processor until well blended.
  5. Spread mixture over bottom layer until evenly distributed.
  6. Place in freezer for 30 minutes.
  7. Cut into 16 squares.
  8. Re-freeze whatever you don’t eat, and enjoy at another time!

Hope you enjoy this sweet, healthy, vegan, gluten free, and tasty no bake treat. Enjoy.

Diary Free Cream Cheese


Vegan-Cream-Cheese-Intro

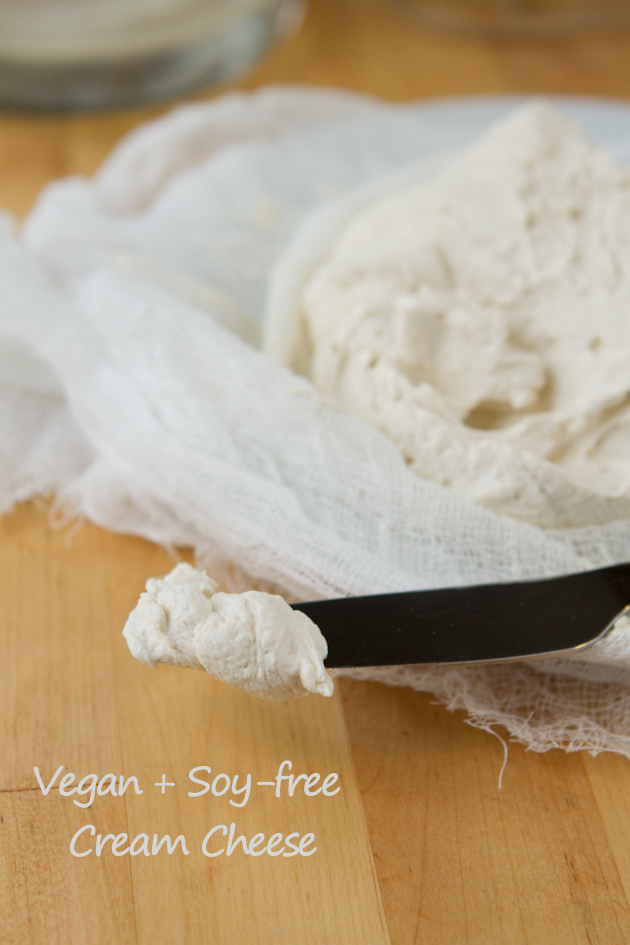
With all the cream cheese recipe I posted so fat I thought that, it is time for me to post a diary free, vegan, soy free, sugar free, gluten free, homemade recipe for my vegan, lactose intolerant friends out there. I came across this recipe at Health Pursuit blog site, offered by an holistic nutritionist.

Ingredients:
  • 1½ cups raw cashew, soaked for 12-24 hours
  • ¼ cup raw organic apple cider vinegar
  • 2 tablespoons fresh lemon juice
  • 2-3 tablespoons water
Instructions:
  1. Place raw cashew in a glass dish and fill with filtered water. Cover and place in the fridge to soak for 24 hours.
  2. Then, drain and rinse the cashews with water.
  3. Drop cashews in a blender or food processor and add remaining ingredients. Begin with 2 tablespoons of water and work up to 3 tablespoons if needed. The water is in the recipe just to help the mixture get as smooth as possible in the blender.
  4. Blend for 2 minutes or so, until it’s as smooth as smooth can be. Set aside for a couple of hours.
  5. Drape a tall plastic container with cheesecloth. For thinner, more creamy cream cheese, double up the cloth. For a firmer cheese, use 1-ply. I chose to double up.
  6. Spoon the cream cheese mixture onto the cheesecloth.
  7. Pull up the sides of cheesecloth and tie with a piece of string or twine.
  8. Hang the cheese bag on a kitchen utensil and rest it inside a vase or juice pitcher. It just has to be extended in the air so that the extra liquids can drain from it.
  9. Leave in a warm place for at least 24 hours. Then, remove from the hanging setup you’ve created, remove cheesecloth and serve as is or add flavors such as herbs, vanilla or a touch of sugar.
  10. Enjoy.

You can use these vegan, diary free cream cheese to make vegan, diary free versions of Santa Hat Cream Cheese Bites, Cream Cheese Mints, Chocolate Delight, Chocolate Cheesecake, and No Bake Mini Pumpkin Cheesecake. Hope you enjoy these vegan friendly versions of the wonderful treats, thanks to the wonderful homemade healthy diary free cream cheese recipe. I would love to hear your comments on how any of these treats comes out with the homemade cream cheese. Happy reading.

Beginner Ab Workout


During the holidays, we all crave sweets and then comes the regret part. I for one loose my motivation for ab workout due to strain in my back and neck due to crunches. Today, I will share beginner crunchless ab workout with you from Fitness Blender which is easy to and do and is easy on your back and neck. The exercises require little space and no equipments. Hope you enjoy it. Happy Reading.

Workout Details:

This crunch free abs routine is a great combination of light cardio and core toning moves that won’t have your neck or back aching. It’s a great place for beginners to start.

None of these exercises require any equipment at all, and they require minimal space, making this a workout that you could easily do in a hotel room, dorm room, or office.

There are nine different standing abs exercises in this routine. We are going to be doing each for a total of 50 seconds, for a routine that comes in at just around ten minutes total. There is a very short rest period in between each move (roughly 10 seconds).

The exercises in this routine are low impact enough that you don’t really need a warm up before you start this video. In fact, this Standing Abs Workout could serve as light warm up cardio to get your body ready for a more difficult routine.

Crunch Free Abs Exercises – 50 Seconds of each
Double Chop Knee Pulls – Starting with both arms overhead, pull down and across the body, twice, before resetting & repeating on the opposite side. This one is for the abdominals, obliques, hip flexors, shoulders and quads.

Torso Twist Jabs – Go into a shallow squat, and twist at the torso to push each fist out diagonally across your body. Maintain the bend in your knees during the entire interval, going deeper if you want to make it more challenging. Glutes, hamstrings, quads, obliques, chest, rhomboid & biceps are the focus of this one.

Standing Toe Touches – Just like it sounds; keep a straight back and lift one leg straight out in front of your body, bringing the opposite hand down to touch that toe. Lower the leg, bring the arm back up above your head, and then repeat with the opposite limbs. Make sure that you don’t use any jerking motions or momentum to get any additional range of motion out of the kick; it is okay if you can’t get your leg very high. You will feel this in your abs, obliques, hip flexors, and quads.

Four Twist Knee Ups – Four torso rotations with a diagonal knee up on the fifth twist, maintaining a shallow knee bend the entire time. Think of it in this rhythm; twist, twist, twist, twist, knee up. This is an awesome obliques exercise. Hip flexors and thighs also have to pitch in.

Crossover Toe Touches – Extend arms straight out from your shoulders, and in a smooth & controlled motion, twist at the torso & bend to touch the toes of the opposite foot. Come back up, and repeat on the opposite side. The target of this standing abs exercise is your lower back, abdominals, and obliques.

Side Squat + Knee + Side Squat – With hands behind your head, squat to one side. When you push up from that squat, bring one knee up to the opposite elbow, before dropping back into a side squat, and then repeating the entire sequence on the entire side. Glutes, thighs, obliques, hip flexors and abs are the used during this motion.

Slow-Mo Rotations – Extend arms straight out from shoulders, slowly and deliberately twisting at the torso as far as is possible in each direction. The more focus you put into the rotations, the better it targets your obliques.

Tap Jacks – In a movement similar to a slow motion jumping jack, step side to side while tapping one foot behind you. Really focus on deliberate motions & you will feel this in your core and especially obliques.

Side Bends – Extend your arms straight out and slowly bend from side to side. You will feel this especially in your obliques.

How many calories does this Fitness Blender routine burn?
We estimate that this 10 minute workout video burns between 5-7 calories a minute, or 50-70 total.

Hope you enjoy doing this easy workout that address your core and is a great combination of light cardio and core toning moves. Happy Holidays.

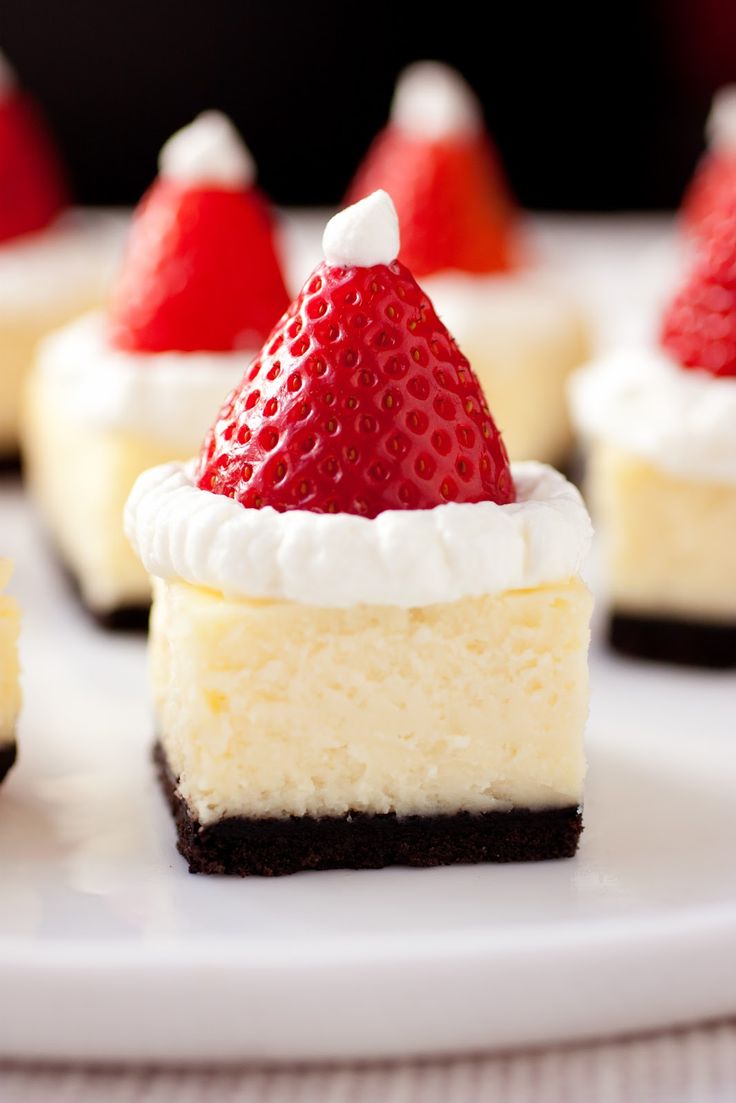
Santa Hat Cheesecake Bites


santahat

Today being Christmas Eve I wanted to share this special treat with you that I hope you will enjoy. The recipe yields 25 bite size treats.

Ingredients for Chocolate Crumb Crusts:

  • 1  Stick Butter (I used I believe It’s Not Butter for healthy substitution)
  • 1-1/2 cup (about 45 wafers, crushed) reduced fat vanilla wafer crumbs
  • 2 tablespoons Splenda
  • 6 tablespoons Hershey’s Unsweetened Cocoa

Cheesecake Ingredients:

  • 1/4 cup (1/2 stick) butter (I used I believe It’s Not Butter for healthy substitution)
  • 2 (8 oz) pkg fat free cream cheese, softened
  • 1/8 cup + 1 Tbsp Splenda
  • 2 large eggs
  • 1/2 tsp vanilla extract
  • 1 1/3 cups white chocolate chips
  • 1/3 cup fat free half & half, divided

Topping Ingredients:

  • 25 fairly small, fresh strawberries (or more if cutting more squares)
  • 1 (16 oz) pkg fat free cool whip

Instructions for Crust:

  1. Preheat oven to 325 degrees. Line an 8 by 8-inch baking dish with two large sheets of tinfoil (one going horizontally and one over the top of the other vertically. Make sure your sheets are long enough that you’ll have an overhang of foil over the edges of the pan. Also, be sure to mold it well to the pan).
  2. Brush foil with 1/2 Tbsp melted butter.
  3. In a mixing bowl, using a fork blend together crushed wafers and  melted butter until mixture is well combined and evenly moistened.
  4. Press mixture firmly into the bottom of the prepared baking dish (the bottom of a flat measuring cup or glass works well for pressing crust), set aside.

Instructions for Cheese Cake:

  1. In a large mixing bowl, using an electric hand mixer set on medium-low speed, blend together cream cheese and splenda until mixture is smooth, about 30 seconds.
  2. Add in eggs and vanilla extract and mix until well blended. In a separate microwave safe bowl, heat white chocolate chips with 1/3 cup half & half on 50% power in 30 second intervals, stirring after each interval until melted and smooth. Pour melted white chocolate mixture into cream cheese mixture and blend on low speed until combined. Tap bowl against counter top about 30 times to release some of the air bubbles then pour mixture over prepared crust in baking dish.
  3. Bake in preheated oven for 40 minutes then turn oven off and without opening oven door allow cheesecake to rest in warm oven for 15 minutes. Remove from oven and let rest at room temperature for 30 minutes, then cover with plastic wrap and freeze for 3 hours or refrigerate for 6 hours.
  4. Once cheesecake is fully chilled and set, remove from freezer or refrigerator and lift cheesecake out of pan using the foil overhang. Cut cheesecake into squares (I’d recommend cutting them just a bit larger the the width of your strawberries. Also it’s nice to keep some clean paper towels close by to clean your knife while cutting squares).

Instructions for Topping:

  1. To assemble: cut a flat top off of each strawberry and lay flat side down over top of cheesecake. Fill a pastry bag (or Ziploc bag and cut a small tip of corner) with fat free whipped cream and pipe around strawberry then finish with a small amount over the top of the “hat”. Serve immediately (for do ahead- you can make cheesecake the day before then assemble within an hour of serving the following day). Store in refrigerator in an airtight container.
  2. I processed the wafer in a food processor but if you don’t have one you can place them in a large Ziploc bag, seal bag and finely crush with a rolling pin .
  3. Recipe Source: cheesecake bites – I adopted the recipe from Cooking Classy, Santa hat inspired by – daisy’s world who adapted it from Erica’s Sweet Tooth.

Hope you have a wonderful and peaceful holiday with your loved ones. Please check out  and like my Facebook Page. Beside link to my blogs, I also share links from Vogue, Style, Elle, Health Magazine, Women’s Health, American Heart Association and much more. Happy Reading.

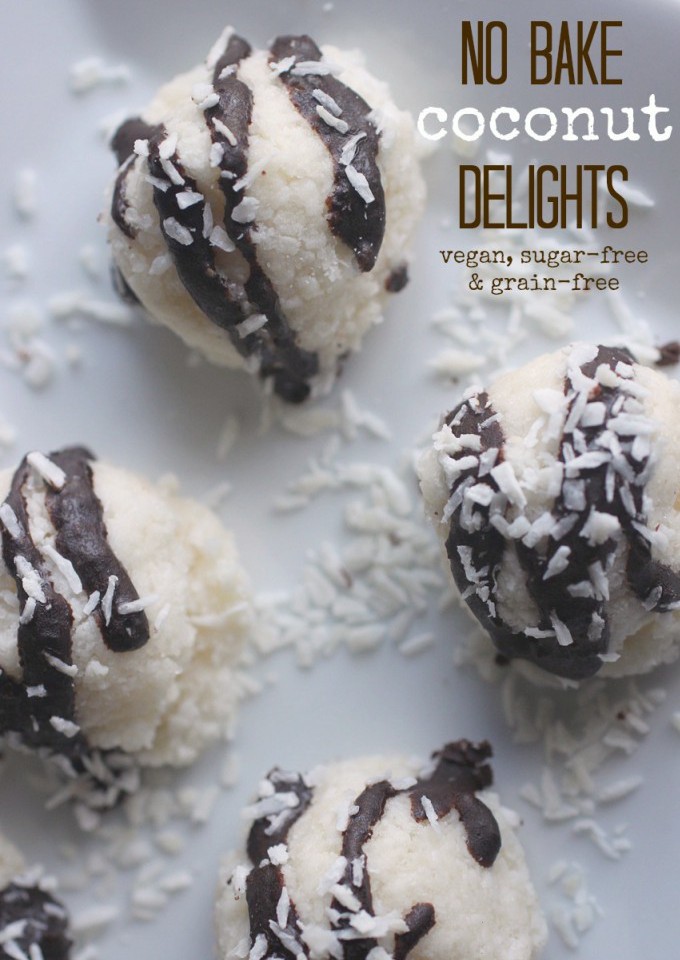
No Bake Coconut Delight


Well I though I would bring I more treat to share with you today that I came across. It is a very easy to make treat and require no baking. I hope you like it. Please share if you enjoy. I found this wonderful recipe at Whole New Mom Site.  Happy Reading.

Makes approximately 25 treats

Ingredients

  • 3 cups unsweetened, shredded coconut
  • 3/8 cup (6 Tablespoons) coconut oil
  • 1/2 cup sweetener
  • 2 teaspoon vanilla (I recommend alcohol free vanilla since you will not be baking these)
  • 3/8 teaspoon sea salt

Optional Toppings:

  • Hershey’s Sugar Free Semi-Sweet Baking Chips melted, for drizzle
  • shredded coconut

Methods:

  1. Put all ingredients in a food processor or blender.
  2. Combine until the mixture is blended and sticks together.  (Note: if you are using a high-powered blender like a Vitamix, do not turn your machine on high.  You will likely end up with Coconut Butter.  While it will be delicious, it won’t be these no bake cookies :-)!)
  3. Remove the mixture from the blender / food processor and form into desired shape.  I really like the cute little shapes I was able to make with this little cookie scoop.  If you have a little trouble with the “balls” falling apart but just gently press them back into the desired shape.
  4. Decorate with shredded coconut, cocoa or carob powder,  or melted chocolate (I love mine with melted chocolate chip, piped from a plastic baggie with a tiny hole cut in the corner) as desired.  Or leave them plain.  They are great just as is (but I do think a little coconut sprinkled on top adds a nice touch.
  5.  Leave to firm up on a plate.  They will firm up at room temperature.
  6. You really don’t need to store these in the fridge but I think they taste a tad bit better cold.
  7. Enjoy

My Makeup Secret


With just two days left for the holidays, I know the ladies you have worked hard to get ready preparing for the holidays and the party. Now it’s time to take care of yourselves, the dress, the makeups. Today, this blog is dedicated just for you because you deserve it. I am by no means experts in beauty or make-ups. I will bring today what I have come across through process of elimination through my own personal experience. Since, I have started using my new make-up regiment since last August, I have been getting non-stop complements on my make-ups because I keep my make-up simple, and today I want to share that step by step secret with you. Again, I am not promoting any particular product. I am just reporting what has worked for me. Perhaps something else will work for you. If you have a great alternative please share in your comments and we would love to hear it. I will also share some great holiday fashion that came across in Vogue magazine. Happy reading.

The first step before any make-up regiment, I always wash my face with my usual regiments and use my Body Shop Tea Tree Skin Clearing Toner.  I then use my usual moisturizing regiment.

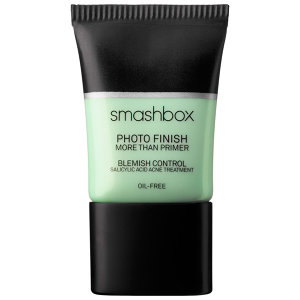
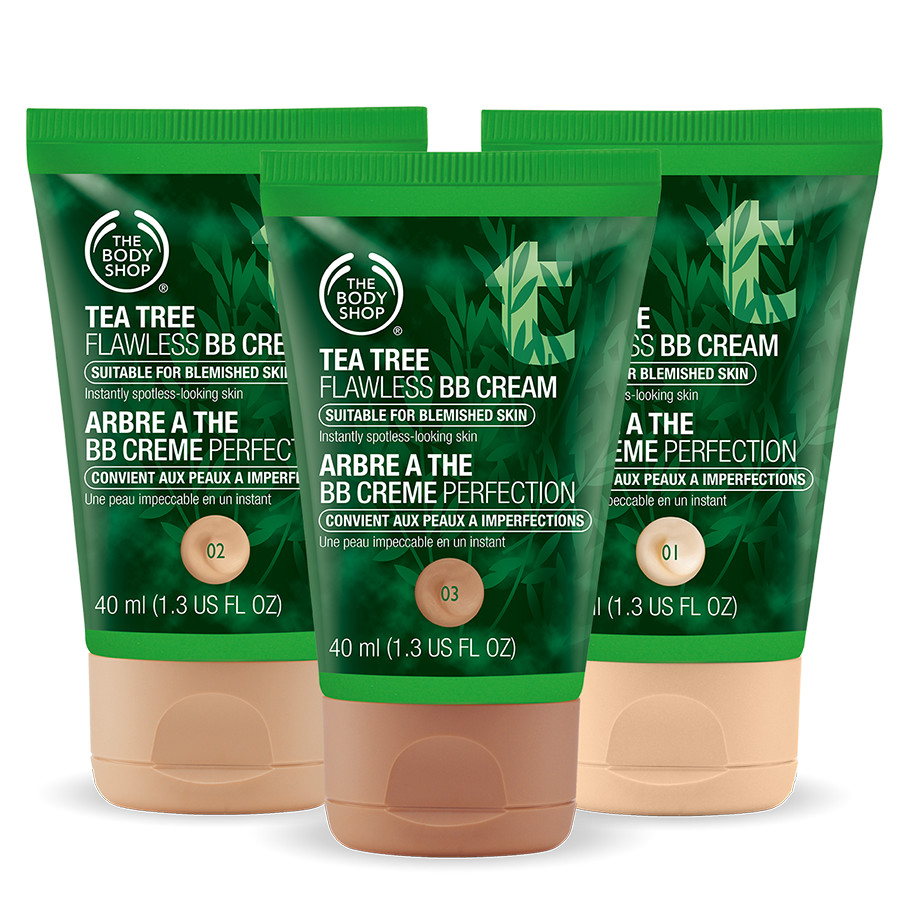
For the fist step of make-up, I use the Sephora Photo Finish More Than Primer – Blemish ControlIt can be layered under foundation without the worry of breakouts. It’s parabens, sulphate, and phthalates free. I follow the primer with a very light layer of Body Shop Tea Tree BB Cream. After my trip to the very windy and cold city of Chicago my face broke out in enormous blisters and acne with resulted in bad scars as a result I have to take extra precaution on myvery sensitive skin when comes to skincare. You probably don’t have to use this. However, I love this product it because it give my skin extra layer of protection and during weekends when I don’t feel like wearing foundation, I just wear this and I am good to go.

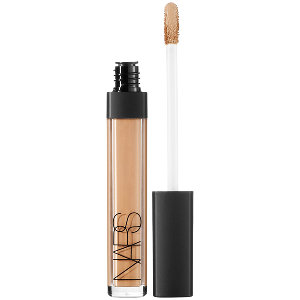
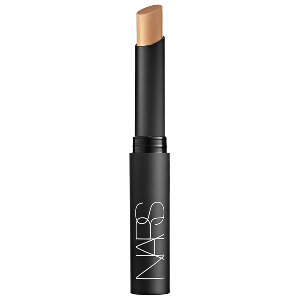
I next wear the NARS Radiant Cream Concealer underneath my eyes to cover my dark circles. Ladies, here I have to share a secret with you. In order to get rid of the crease with the concealer underneath your eyes, the trick is to mix the concealer with your eye cream. It works for me all the time. I put dabs of eyes creams and dabs of the concealer under by eyes and mix and walla perfect under eyes.  I then hide rest of my blemishes and scars with NARS concealer. The best thing about both of these concealers is that they come in make shades so there is a shade for every skin tones.

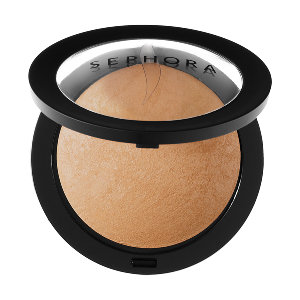
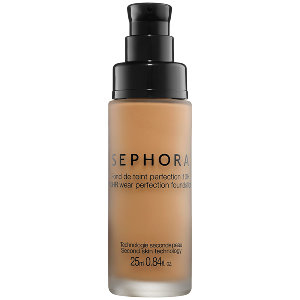
Once I cover all the flaws, I use Sephora MicroSmooth Baked Foundation Face Powder . I like this powder make-up because they are faster to use and less time consuming. More0ver, this is parabens free baked foundation which I prefer for my skin. However, when I am taking my time and what to use liquid make-up I use Sephora 10 HR Wear Perfection Foundation. This is a parabens free, oil free foundation which comes in my exact skin tone and provides great coverage.

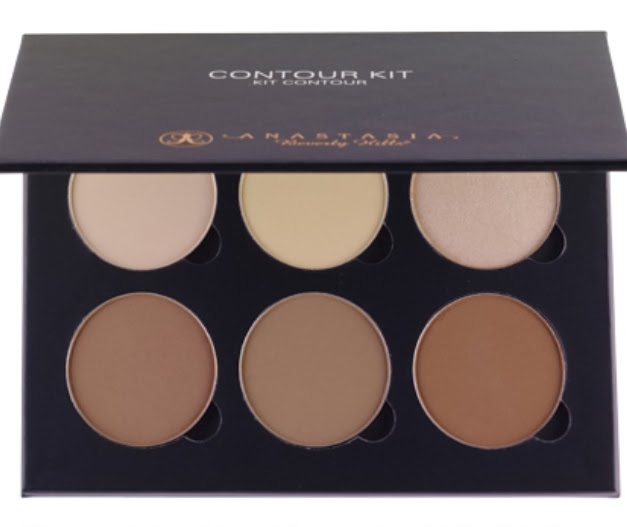
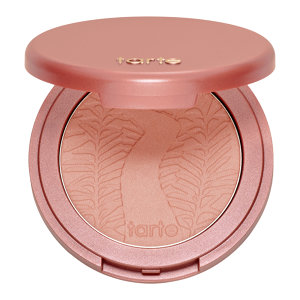
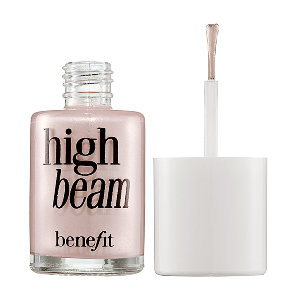
Once foundation is done is now, time to contour and highlight the face. This is where we get to bring out the best features of our face. I use products here. I came up with these products after few experimentation and recommendations from family and friends. I first use the Anastasia Beverly Hills  Contour Kit to contour and highlight my face. What I like about buying directly from the Beverly Hills Anastasia site is that I was able to custom make my own contour kit based on my own skin tone. After contouring, I use the Tarte Amazonian Clay 12 Hour Blush. The best thing about this blush is that is that it’s a baked nude blush that has buildable coverage. I use one last highlighter on my face that I absolutely love is the Benefit High Beam highlighter. I tap a little around my eyes and cheekbones and the result is fabulous giving me a luminous but never frosty or greasy look, it enhances coverage by bouncing light off the face. I use it high on cheeks after blush, I use it in in dark area by eyes, high part of nose and I use a tiny dot on bottom and top middle of lip for added fullness effect. A little goes a long way. I heard some people mixing it with their liquid foundation and got even better result.

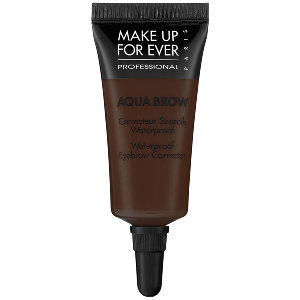
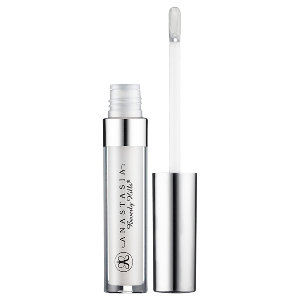
Once done with my face I then handle my eyes. To be honest, I don’t have the best eye brows hence I have to take extra care of it. However, one thing that I do have it that I do have a good shape, according eye brow person I used to go to,  and I try to take advantage of that. I don’t draw my eyebrow with pencil because that lead to more eye brows falling. I use the Make Up Forever Aqua Brow cream to draw my eyebrow along my natural eyebrow shape to enhance my eyebrow. I will share another trick with you here. I use mascara wand to brush my brows before and after applying the cream. It makes my brows looks naturally full and when I apply the cream it looks more natural. You can by the wand at your local beauty supply store or at Amazon. Also, I never buy the black color. Always get the same color as the color of natural hair color. Since, my hair is dark brown that’s the color I get. Since I started doing that and filling my eyebrows, everyone I met told that I have the most beautiful I brows, which is a great complement for me. I add Anastasia Beverly Hills Clear Waterproofing Gel on top of the brow cream even though the cream is waterproof for extra protection.

spray

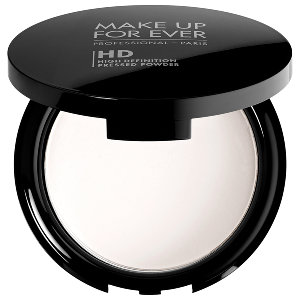
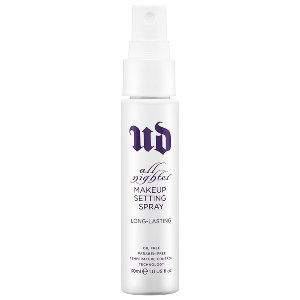
Then depending on the occasion I wear my eye make-up and lipstick. Just remember to use light eye shadow underneath the arches of the brows to define the brows. However, I always end my make-up the same way. I always set my make up by using the Make For Ever HD Pressed Powder. It’s a clear powder that softens the appearance of fine lines and pores. I then finish the look by using Urban Decay All Nighter Long Lasting Make Up Setting Spray. It keeps makeup looking just-applied for up to 16 hours. I cover my eyes with my hand and just am completely dependent on this product.

scan0001

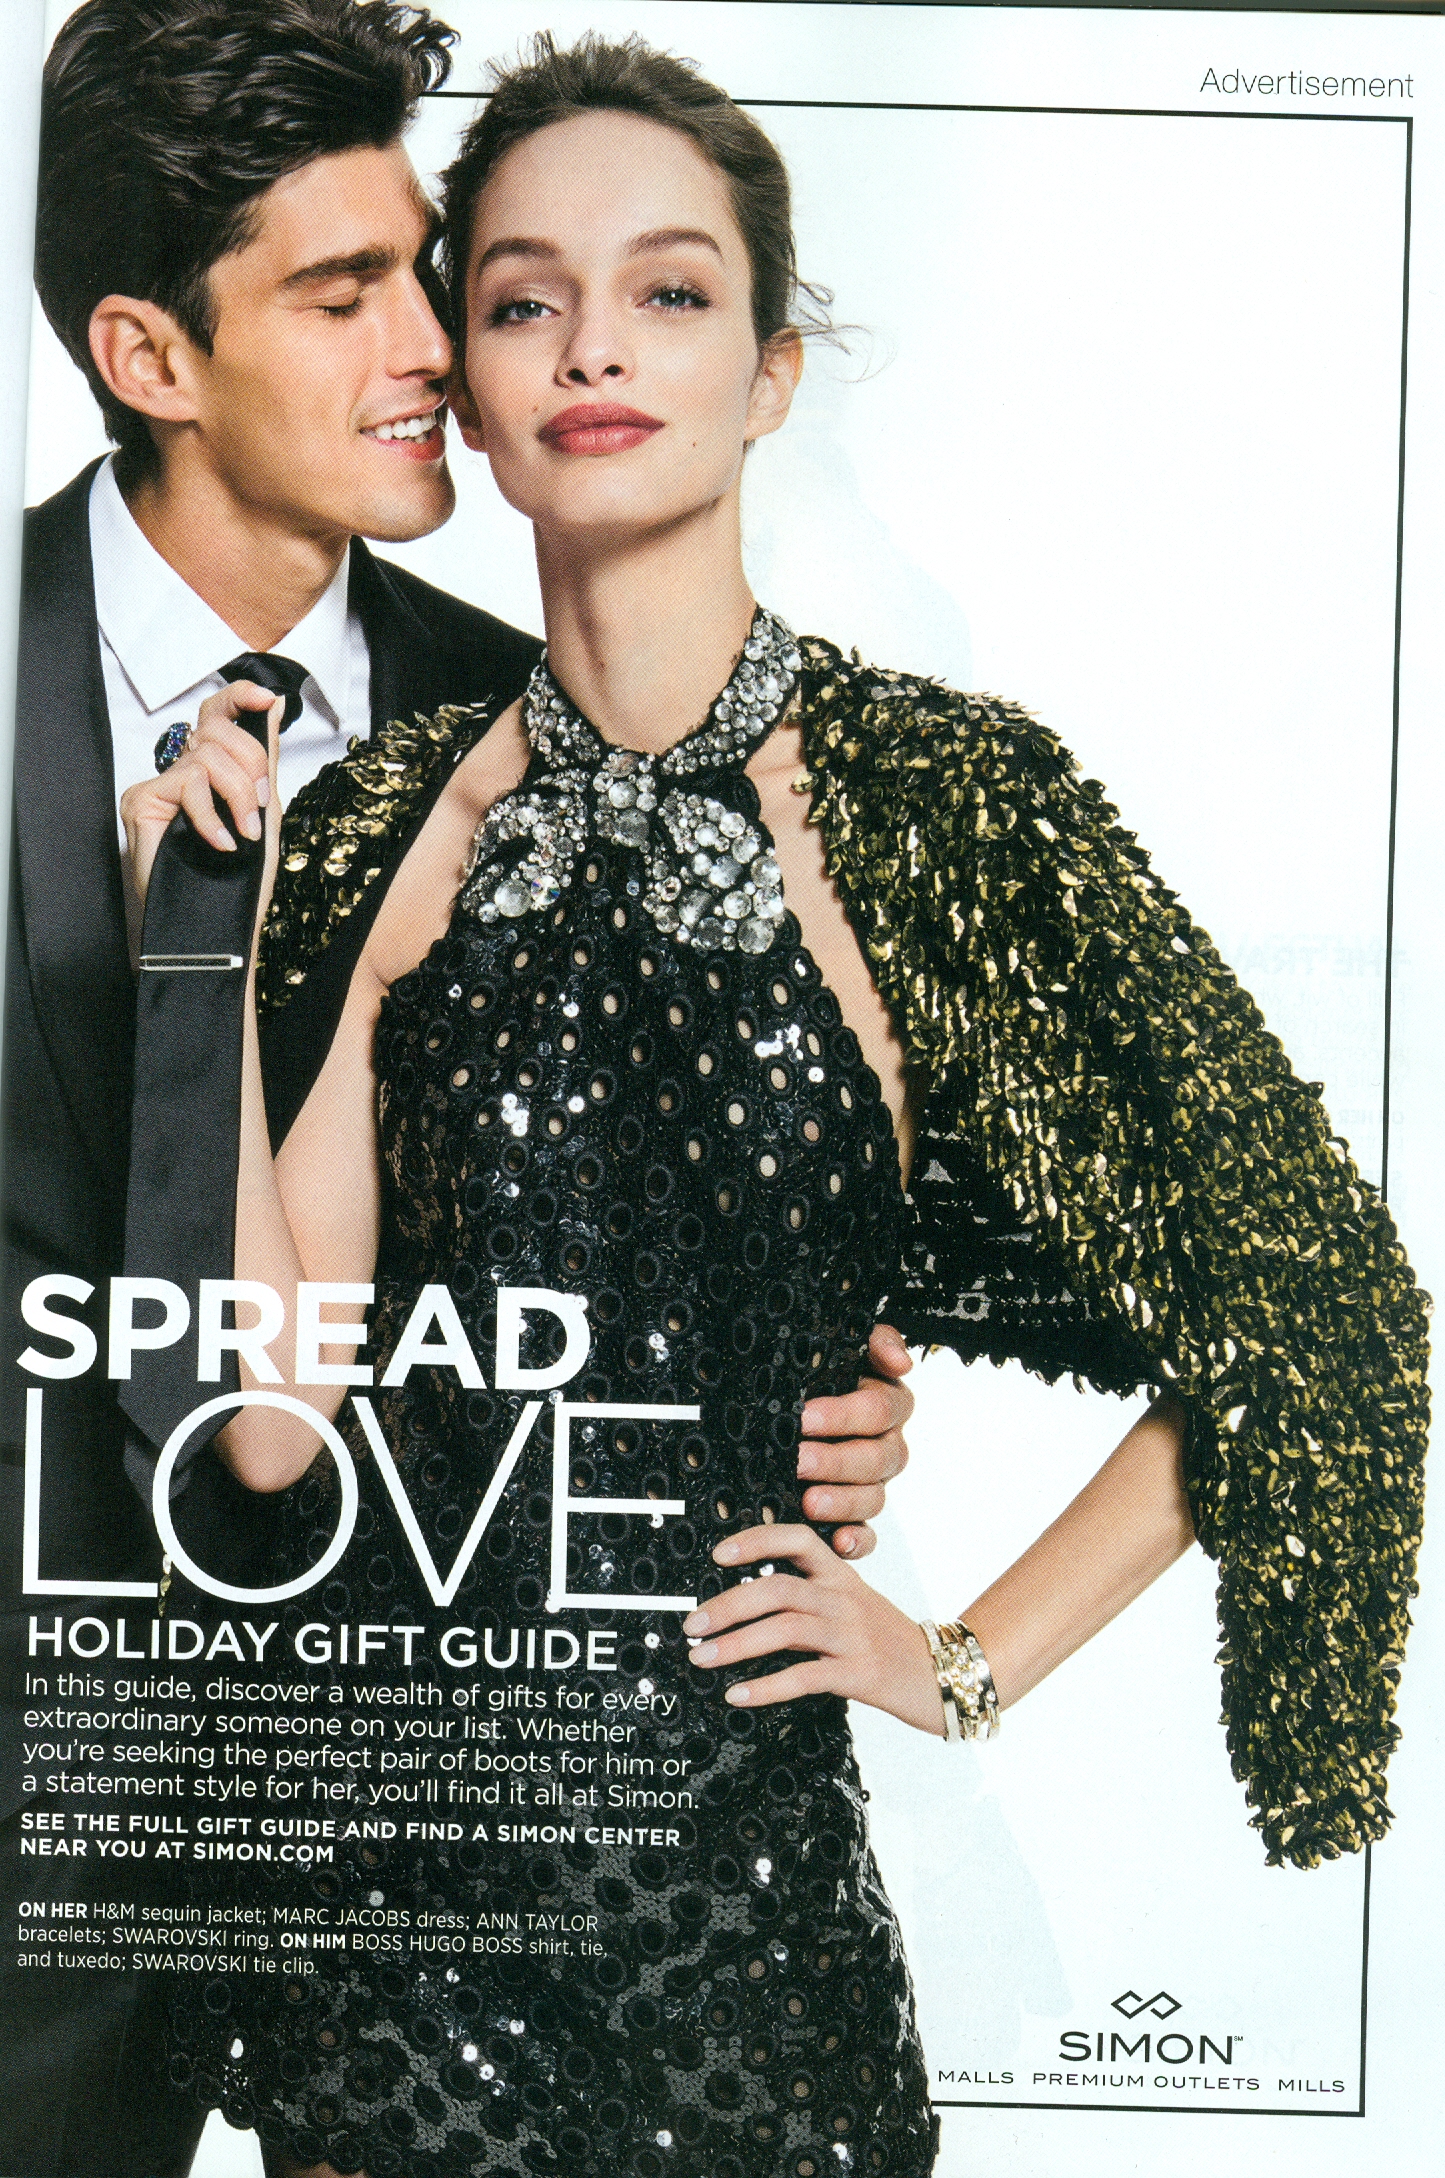
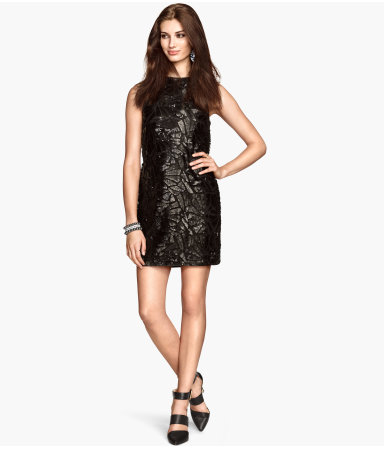
With Make Up done, I now want to share the holiday style features in this years Vogue magazine. Here, I found a similar H&M Sequin Jacket for $59.95. I found this wonderful dress that goes well with the jacket too that just cost $69.95 at H&M for you guys, or you can wear the dress by itself.

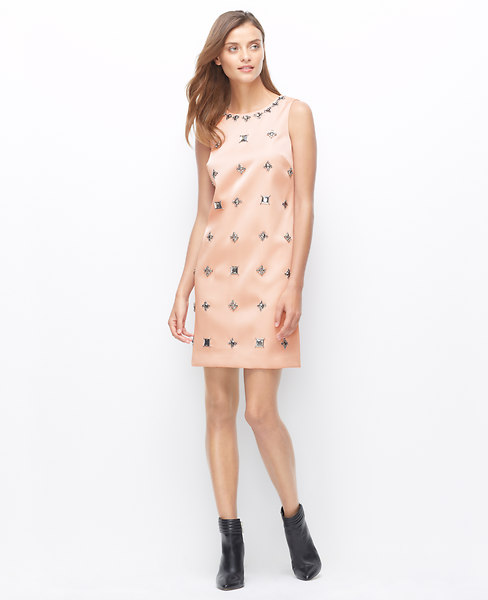
This beautiful dress from Ann Taylor Jeweled Shift Dress is also featured in this month’s Vogue’s issue is on sale for $149.99. You can additional 50% off with code WINTER50.

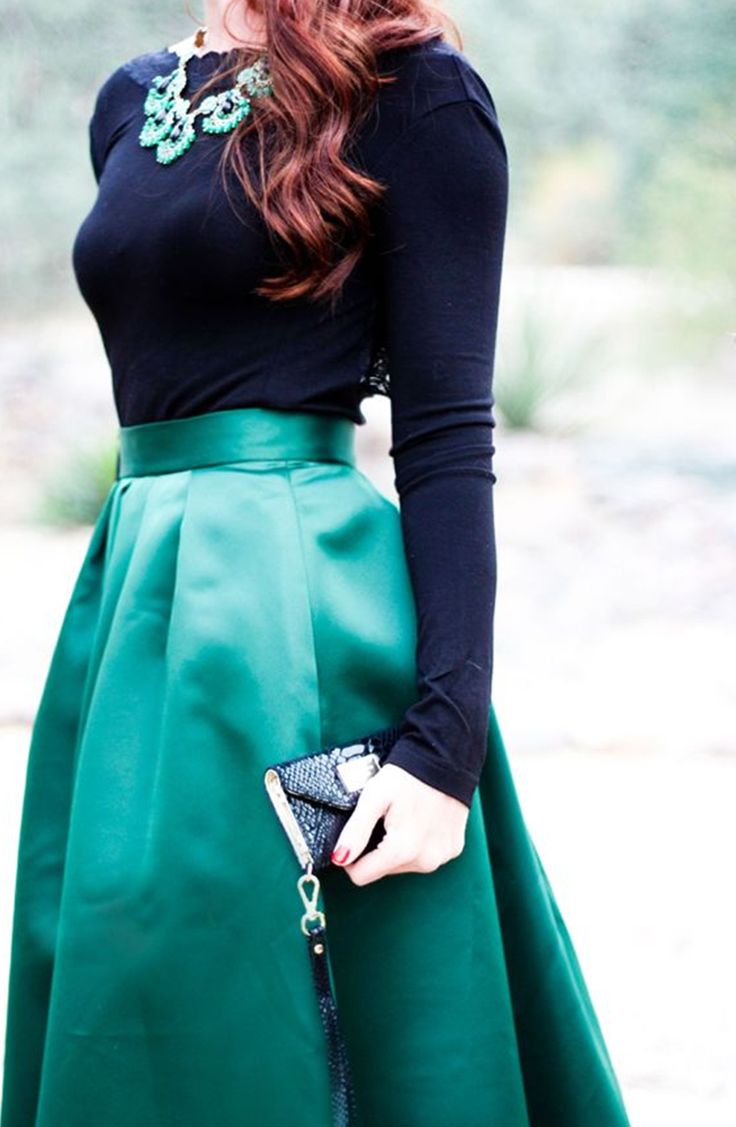
As for me I like to wear something simple but but elegant at the same time. That’s I love wearing my long green long with velvet circle’s it. It look’s absolutely amazing. It’s one of a kind because it’s handmade and I get complements from everyone. I accessorize the dress with my Amrita Singh Reversible Bib Necklace and I am good to go. Ladies, I hope you are all ready to pamper yourselves this holiday after all the hard works. I look forward to hearing you version of holiday make-up and fashion tips. Enjoy.

Diary Free Whipped Cream


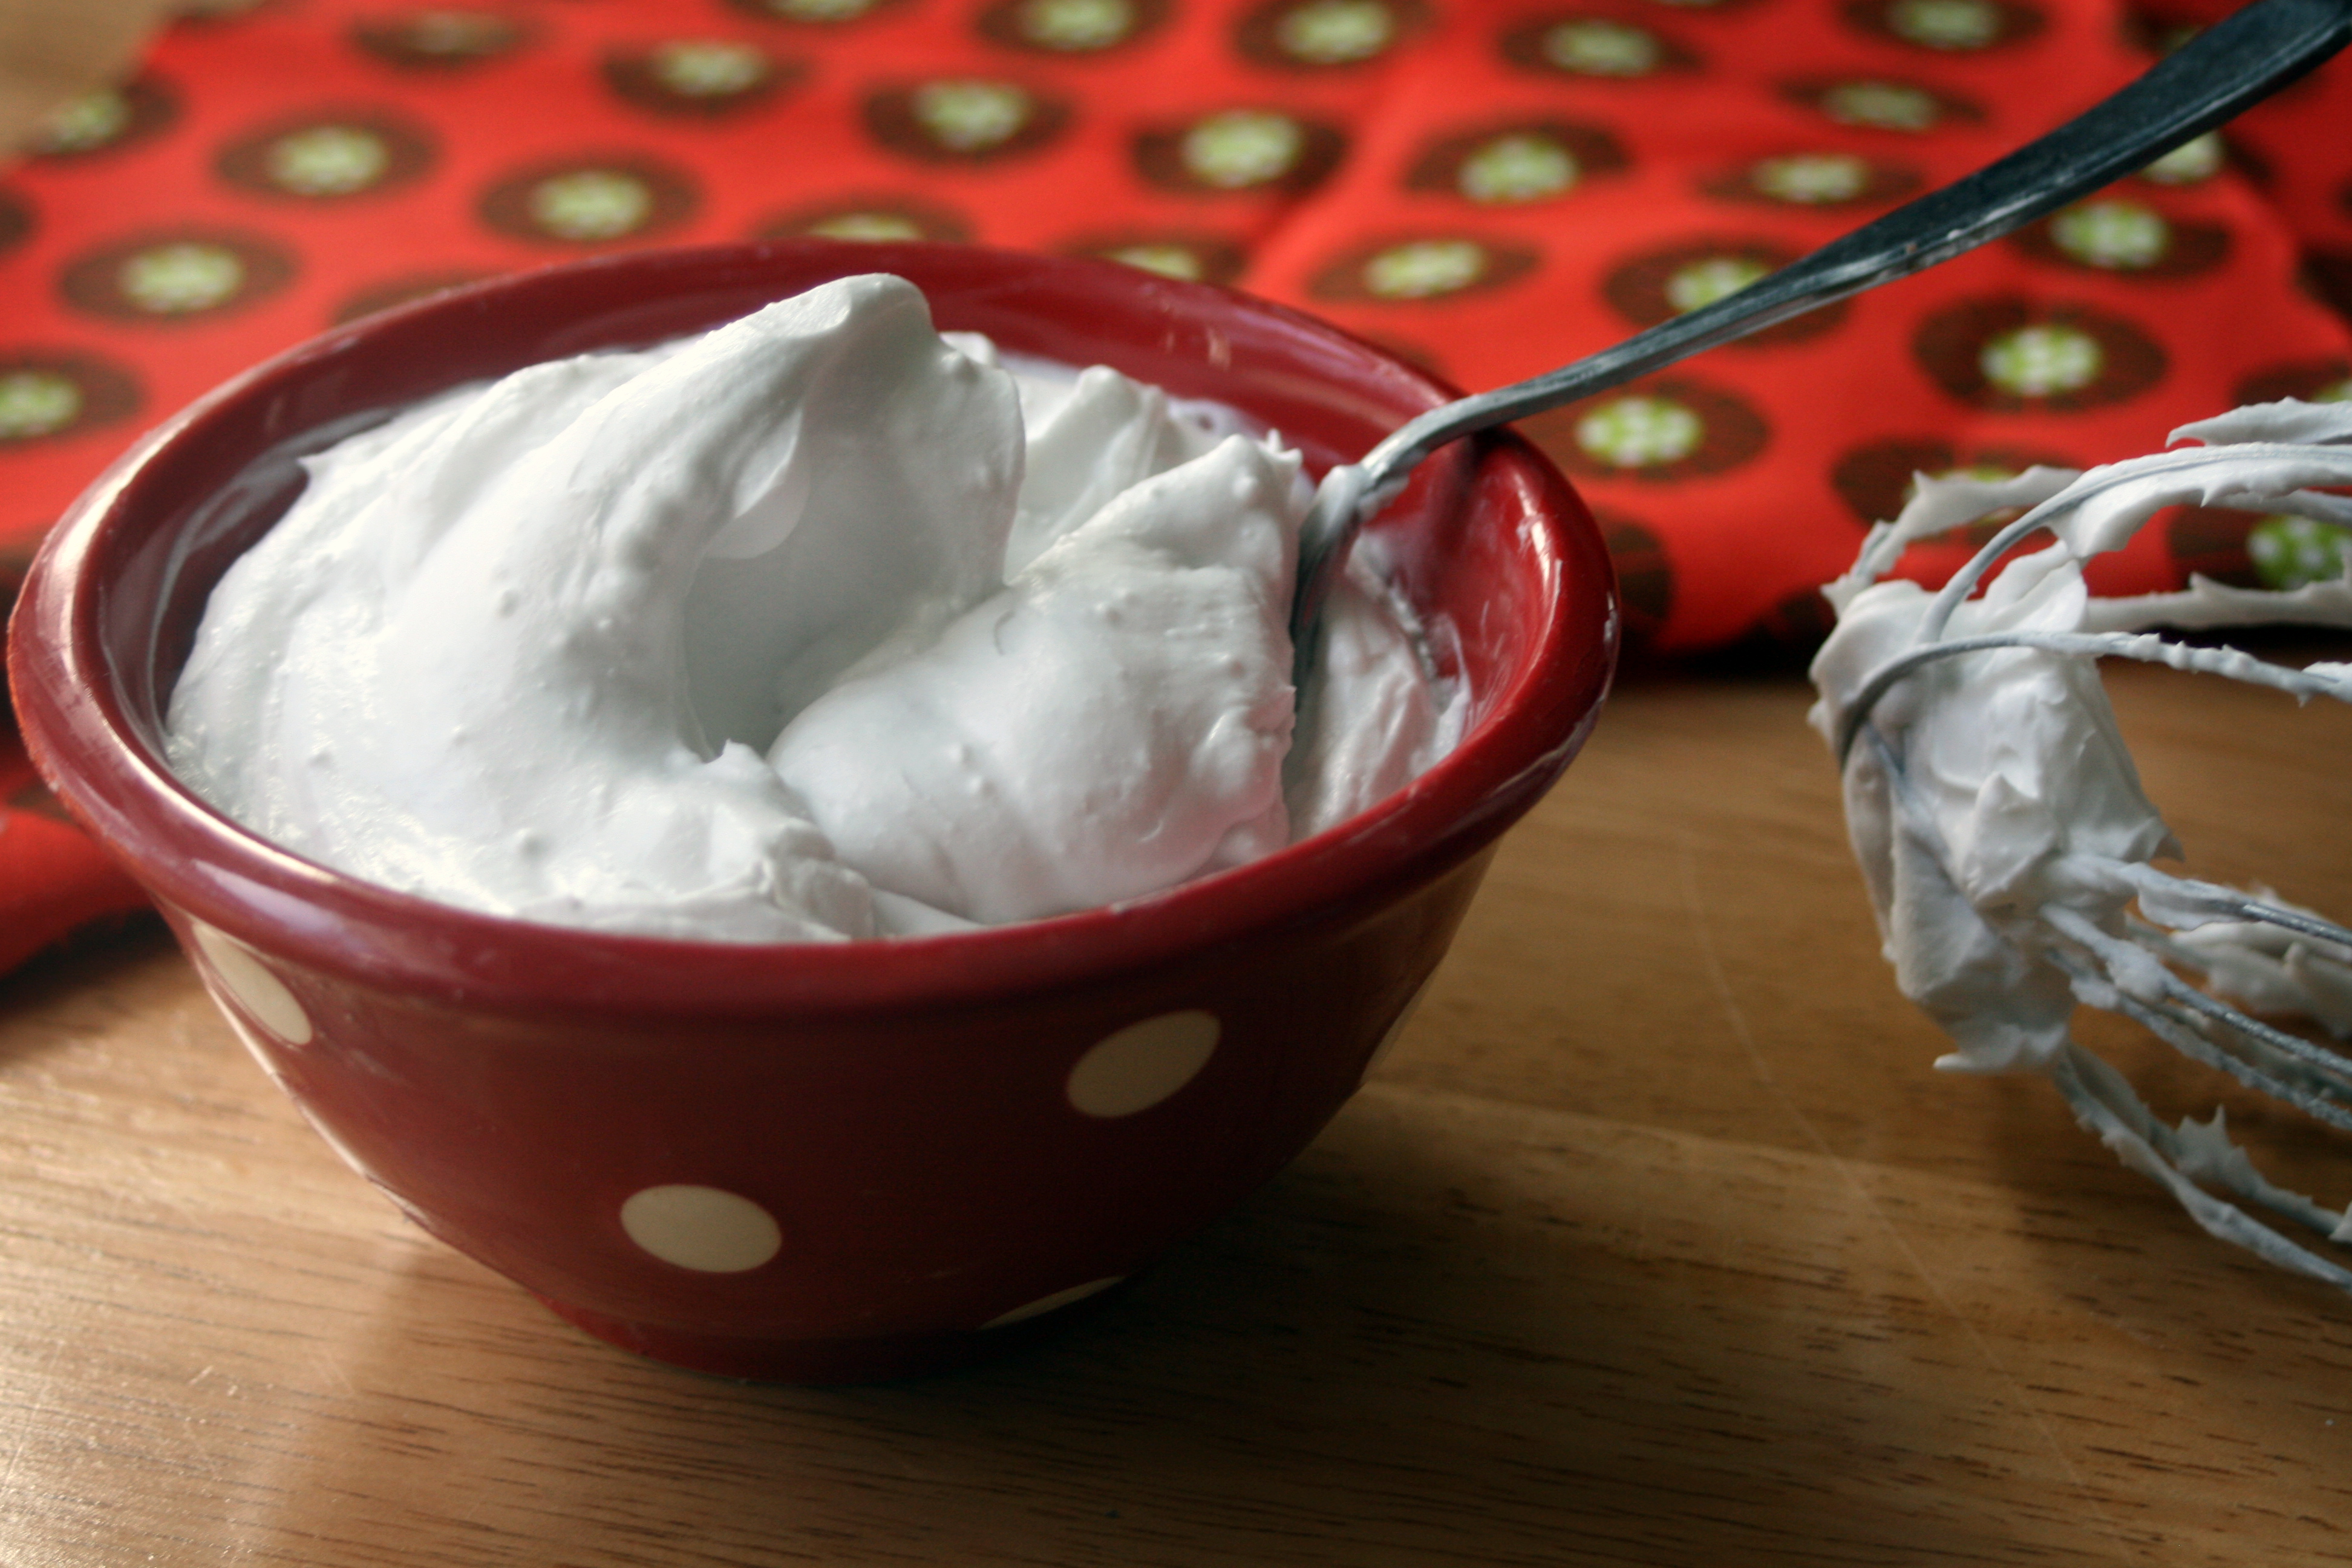
While I love buying the fat free version of whipped cream from the grocery store not everyone like is tolerant to the diary version of whipped cream. Hence, I am sharing a very easy to make diary free, vegan version of these delicious treat from Radiant life.  Happy reading.

Ingredients:

  • 1 can organic coconut milk
  • 1/2 tea spoon vanilla extract

Instructions:

  1. Place a can of coconut milk in the refrigerator for at least a couple hours, or better yet overnight. When chilled, the fatty part of the coconut milk will harden, separate and rise to the top. This is the cream you will use for whipping.
  2. Open and scoop the hardened coconut cream into a large bowl. If you want to get all fancy about it, you can actually flip the chilled can of coconut milk upside down and open from the bottom to pour the liquid off and reveal the cream underneath. Otherwise, simply open as normal, and use a spoon to scrape the cream from the top. Either method will get the job done.
  3. Also, it can help to stick the bowl in the freezer for about 15 minutes before using. This way, your cream will remain nice and chilled as you whip it.
  4. Using a hand held mixer, whip until light and fluffy. In order to prevent splattering the cream all over your kitchen, start to whisk at a lower speed at first. Slowly work to a higher speed to until you have incorporated enough air for desired fluffiness.
  5. You can add vanilla extract while whipping as you would with regular cream.
  6. Enjoy!

Homemade Fat Free Marshmallow


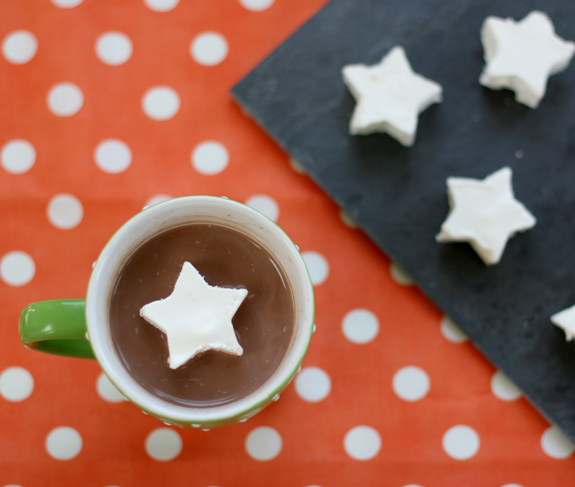
coolwhip121I thing that I don’t like about marshmallow is that it’s too sweet for me. That’s why I was very excited when I came across this low calorie homemade marshmallow recipe at Say Yes website.  I adopted to make it just the right sweet for me using fat-free whipped cream. Now you can enjoy fat-free marshmallows with your fat-free, sugar-free hot chocolate guilt free. Happy reading.

Ingredients:

  • 1 container of fat free whipping cream
  • 1/2 cup of water
  • Large mixing bowl
  • Spoon
  • Wax paper
  • Tray
  • Mini cookie cutter (can use any shape you want; I use something like this)

Instructions:

  1. Pour the whipped cream into a mixing bowl and add the 1/2 cup of water. Adding the water is necessary so it freezes well enough to cut out pieces that hold their shape.
  2. Mix well with a spoon until the water is incorporated evenly into the whipped cream.
  3. Line tray with wax paper. Pour the mixture into the tray (you’d like it ideally about at least 1/2 inch thick or more) and freeze at least 4 hours.
  4. Lift wax paper out of sheet and place on a table.
  5. Cut out shapes with your cookie cutter and place layers of the mini marshmallows between sheets of wax paper in a freezable container.
  6. Store in the freezer and pull out individual marshmallows as needed for fancy hot chocolate!

Fat Free Hot Chocolate Mix


The holiday is not complete without enjoying warm hot chocolate with our loved ones in the cold holiday seasons. However, the hot chocolates can be full of calories and sugar. That’s today I am bringing a fat-free, sugar-free (diary free optional). Hope you enjoy the holidays and keep yourself warm with this healthy version of hot chocolate. Happy reading.

Ingredients:

  • 1 cup Splenda
  • 1/2 cup Unsweetened cocoa
  • 1 (1 oz) package fat-free sugar-free instant Vanilla pudding mix
  • 3 cups nonfat dry milk powder

Instructions:

  1. Mix all ingredients together.
  2. Store in airtight container.
  3. To make a cup of hot chocolate use 1/4 cup of mix and 1 cup cold water and heat up after mixing due to the instant pudding.
  4. Enjoy with homemade low calorie marshmallow.