Great DIY Halloween Costume Ideas


Happy Halloween everyone! Hope your Halloween is as scary and spooky as ever. Today I wanted to share with you some last minute Halloween costume ideas that I found online. Hope you enjoy it I much as I did writing about it.

Ice Cream Costume: 
ice-cream

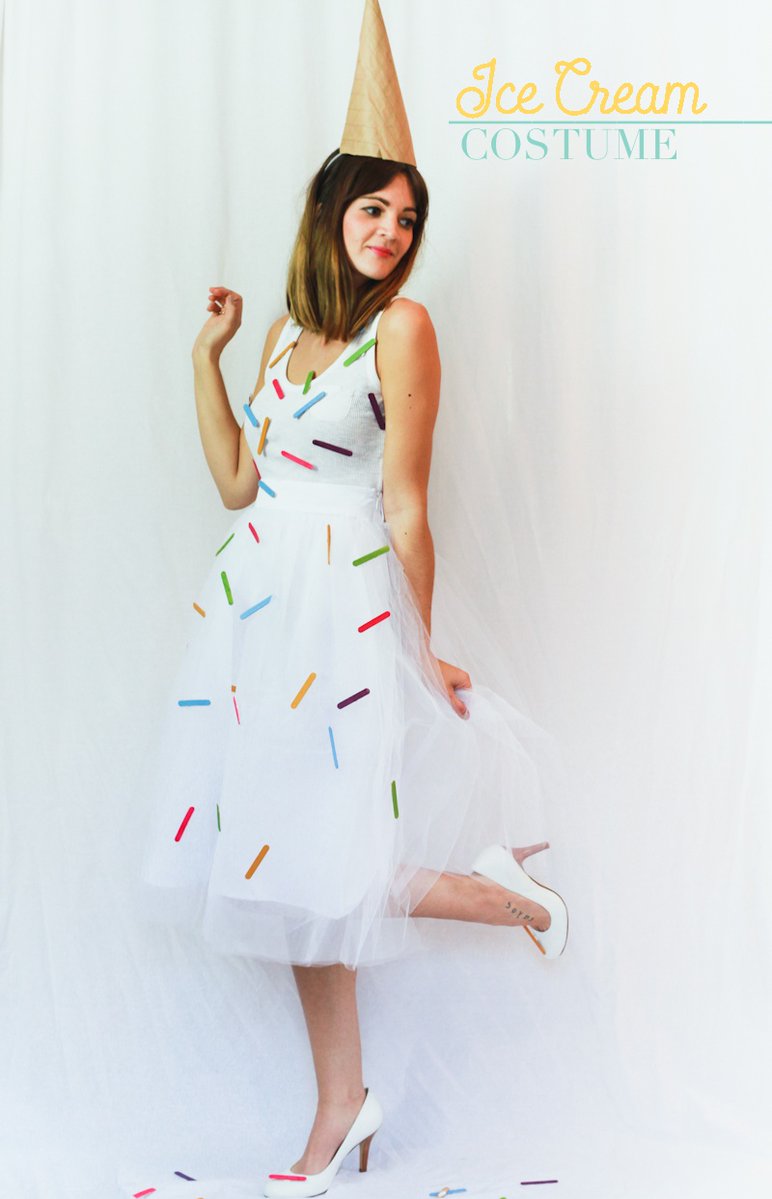
Treasures and Travels came up with this wonderful costume idea that that colorful and easy to put together.

To recreate this upside down Ice Cream Cone Costume you will need:

  1. White Tulle Bloom Skirt
  2. Mini Popsicle Sticks
  3. White Tee or Tank
  4. White Shoes
  5. Brown Paper
  6. Bobby Pins
  7. Colored Paints
  8. Safety Pins
  9. Hot Glue Gun

Cone: Cut a sheet of brown paper in half diagonally and roll into the shape of cone, secure with tape. Attach the cone to your hair using bobby pins, poking a hole threw each side of the paper cone and securing to your hair – or – use hot glue to glue the cone to a headband.

Sprinkles: Paint the mini popsicle sticks an assortment of bring colors and use hot glue to secure a safety pin to the back of each sprinkle. Attach the sprinkles to your outfit using the safety pins.

Spider Web Costume:
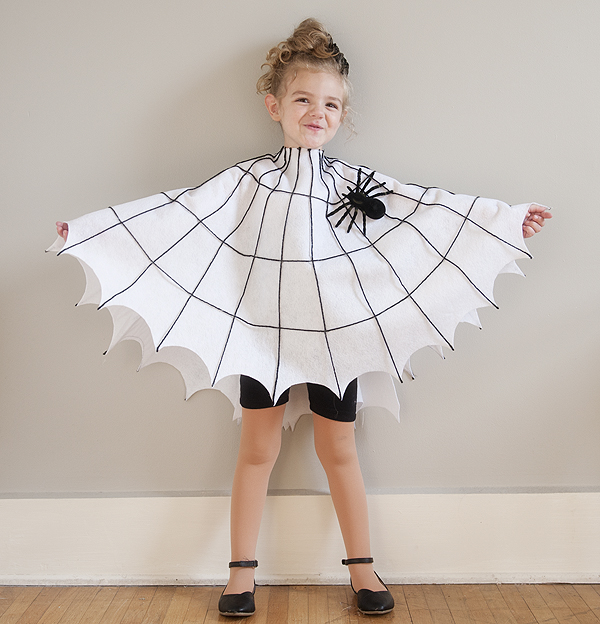
diy_spider_web_costume

Pretty Plain Janes came up with this wonderful costume idea. This costume doesn’t require any sewing skill and is very easy to put together.

  1. 1 1/2 yards of 72″ felt (Used white here but black would work too – just make sure you purchase opposite yarn color)
  2. black yarn
  3. plastic spiders
  4. You will also need black shoes, something for you child to wear under costume, safety pin and a bobby pin or clip to attach spider for hair to.

Instructions

  1. Fold your felt in half length wise.
  2. Take a pen and tie a piece of yarn measuring 24″ long around it. (This measurement is for a 5T size – adjust by a few inches for smaller or larger.) Place end of yarn not attached to pen in the center middle on folded side of felt. Stretch the pen the length of the yarn and mark a half circle on your felt holding onto the yarn end in the center middle the whole time.
  3. Take a large bowl and trace half circle sections on the rounded line that you marked with the yarn and pen.
  4. Take the same large bowl and place on middle of fold about 2 1/2″ in and trace that half circle (this will be the neck hole).
  5. Now cut following the guide of all the half circles you traced (including the neck).
  6. Unfold the felt and cut a slit up middle of one side only. (This side will be the back.)
  7. Grab your yarn and place one end on point of scallop and run the other all the way up to the neck – cut to length. Do this for every point around the “poncho”. You can space out the neck ends more evenly once you have them all cut to size. Once everything is spaced evenly hot glue each end.
  8. Now take the yarn and start at one open end of cape and run it lengthwise all the way around to the other open end, hot gluing when it intersects each yarn piece from step 7. I did this 3 times, which means I eyeballed the cape being divided by 4 as I was running the yarn around.
  9. Attach a spider to the cape using hot glue. Also attach one to a bobby pin or clip for the hair (if using).
  10. Dress your spider! You can hold the back closed with a bobby pin or hot glue some ribbon on each side and tie shut.

You can make the “web” with puffy paint as well. I am not a huge puffy paint fan so yarn it was for me. You could also get fancy with gems or sparkly embellishments of any sort. A fly would be fun too (I couldn’t find one unfortunately.)

Here is a helpful guide for the spider web poncho:
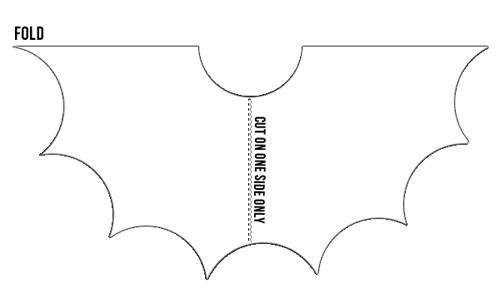
diy_spider_costume_3a

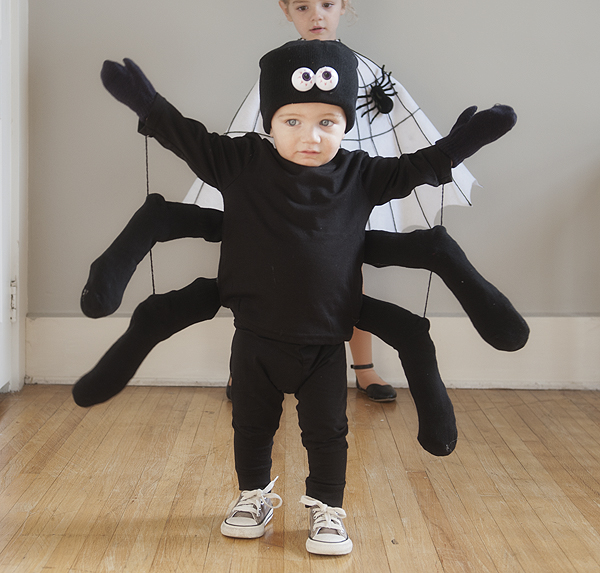
Spooky Spider Costume: 

diy_spider_costume_1

Pretty Plain Janes again came up with this wonderful costume idea. To create this costume you will need.

  1. black long sleeve shirt
  2. black stocking cap (found mine at a dollar store)
  3. black women’s socks (the kind that have the “L” shape)
  4. 2 eyeballs (found mine at a dollar store
  5. black mittens (dollar store again)
  6. gift tissue, plastic bags or newspaper for stuffing
  7. a little bit of black ribbon or yarn
  8. You will also need dark pants (black works best but dark denim could work too), shoes, hot glue gun and glue for it.

Instructions

  1. Stuff each sock with tissue, plastic bags, paper or whatever you have that will stuff a sock. I used one tissue paper for the foot of the sock and another for the part that goes up the leg.
  2. Hot glue (or sew) each sock to back of shirt making 4 “legs”.
  3. Attach each “leg”, starting with the arm of the shirt (because that’s a leg too), by taking ribbon or yarn and hot glueing it to the back of every limb. I left about 4″ of space between each leg.
  4. Take 2 eyeballs and attach to front of the hat with hot glue.
  5. Dress your spider (don’t forget the mittens)!
  6. To make this costume extra sturdy you could sew instead of hot glue. Would be a good idea especially if you have a little one who might tug at the legs.

DIY Queen Bee Costume:
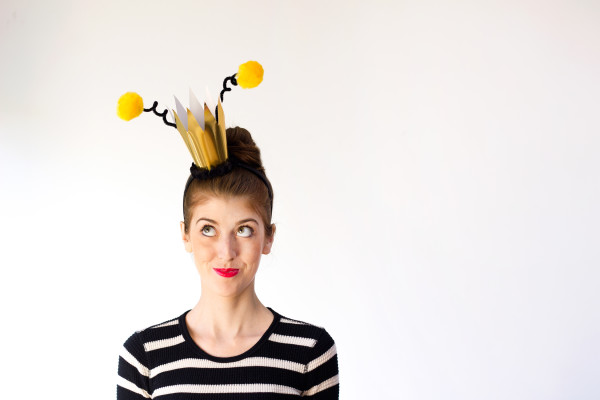
diy-queen-bee-halloween-costumediy-queen-bee-halloween-costume3

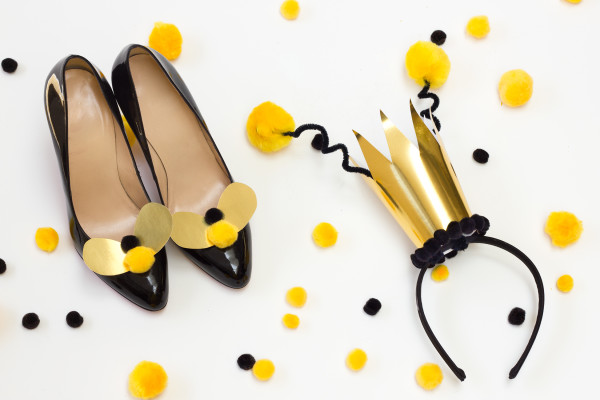
  1. This costume you can you actually put together in the last minute, courtesy of Studio DIY. The detail picture instruction can be found at ehow.
  2. To create this imaginative great costume you will need:
  3. Gold metallic scrapbook paper or card stock
  4. Yellow and black pom poms
  5. Black pipe cleaners
  6. Shoe clips
  7. Headband
  8. Hot glue
  9. Scissors

Instructions:

  1. To make the crown, print out the crown template and cut it out. Trace the template on the back of gold paper and cut. Glue together to form a crown, using hot glue.
  2. Put a dot of hot glue on a large yellow pom pom and attach it to a black pipe cleaner, pinching the pom pom around the pipe cleaner to cover the end. Repeat to create a second antennae.
  3. Twist another pipe cleaner onto the bottom of the antennae to extend the length if necessary.
  4. Wrap the pipe cleaners and around the headband to secure the crown. You can add a dot of hot glue, if desired, for extra security.
  5. Glue small black pom poms around the base of the crown.
  6. To make the shoe clips, fold over a small piece of gold paper and draw a wing shape along the fold. Cut out.
  7. Hot glue the wings to the shoe clips, leaving the wings creased in the center.
  8. Add a large yellow pom and a small black pom along the center fold of the wings, securing with hot glue.
  9. Pair your crown and your bee-dazzled shoes with black and white stripes and a yellow skirt, and you have a buzz-worthy costume for all your Halloween festivities!

Mary Poppins Costume:
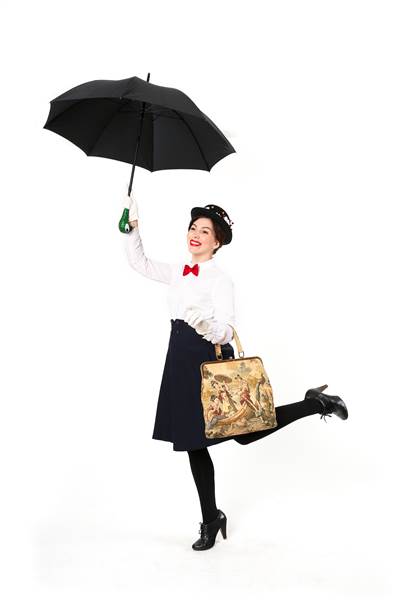
mary-poppin

Just a spoonful of sugar … Ok, you might need a little than that. To recreate this DIY Mary Poppins costume, you only have to find some items from your closet and a few key accessories.

You will need:

  1. White blouse
  2. High-waisted black skirt
  3. Black tights
  4. Black pair of heels
  5. Red ribbon
  6. Large purse
  7. Umbrella
  8. Black hat
  9. Few flowers

Instructions:

  1. Tuck a white blouse into a high-waisted skirt with a full or a-line silhouette; wear both over tights and a pair of heels.
  2. Tie a red ribbon in a bow around the collar of your blouse.
  3. For accessories, carry a large purse and an umbrella, and stick a few flowers in a black hat with a round brim.

Wicket Witch Costume:
wicket-witch

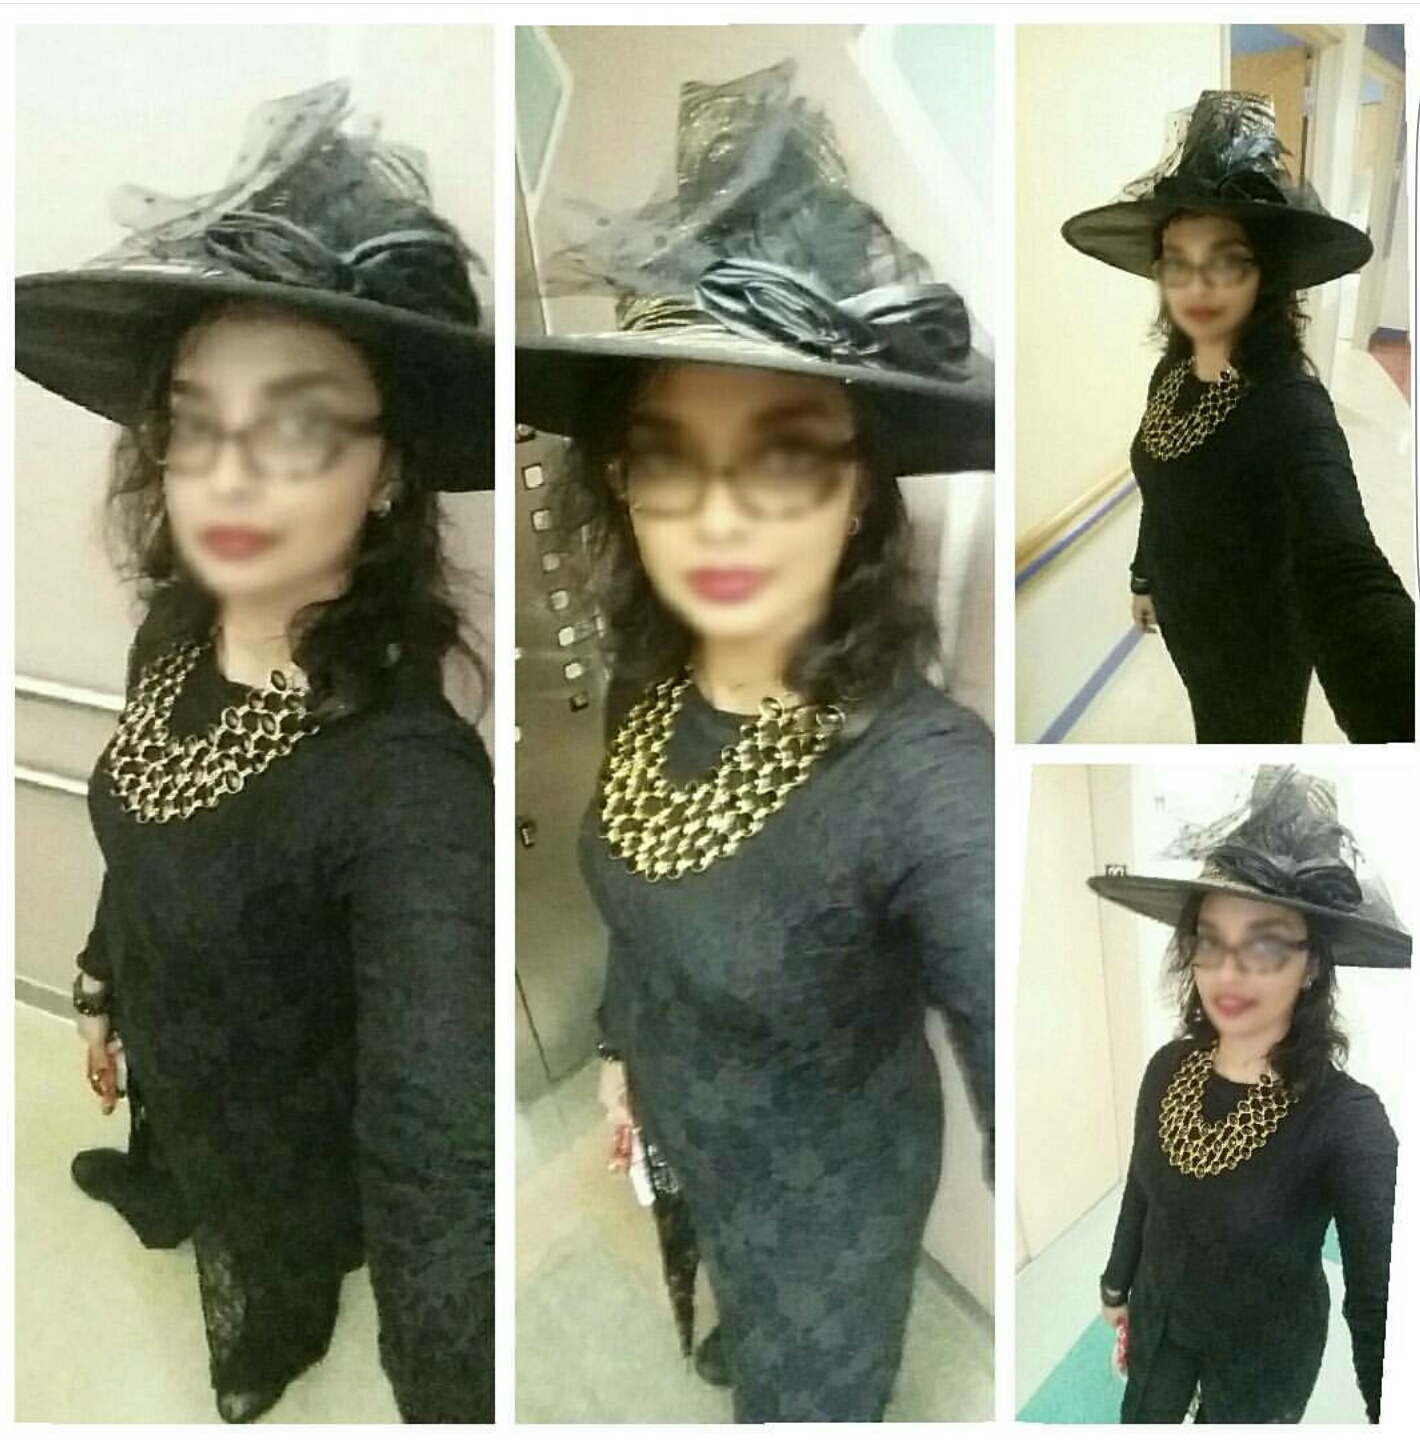
This costume is actually courtesy of me that I put together at the last minute last year with things in my closet. The only thing that I bought was the witch hat. This what I used to create the costume:

  1. Lace maxi dress. (I got mine from Forever 21 a while ago for $20+. You can get something similar at forever 21 for less then $25 or less than $28)
  2. Witch hat (I got mine at target for $6. You can get similar ones)
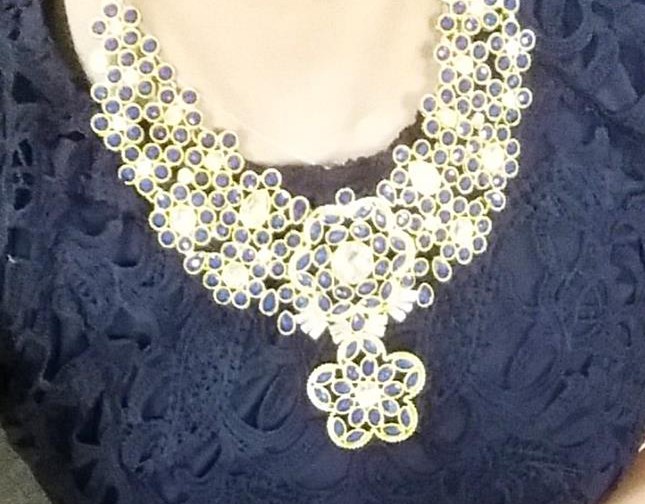
  3. Statement necklace (I wore my favorite Amrita Singh’s Reversible Bib statement necklace).

Instructions

  1. Wear your lace dress
  2. Put on your witch hat
  3. Put on your statement necklace

You are now a stylish witch to party like crazy.

Hope your Halloween is fun and spooky at the same time.  Don’t forget to check out my Facebook Page and follow me on Instagram @allaboutme3181.

———————————–   Happy Reading ———————————-

Instagram: @allaboutme3181
Style in a Budget


Hi There! Hope you had a great weekend. Like me, you guys might be worried about the current economics condition of our country. I for one, don’t want to let that impact my sense of fashion. Hence, I spent some time online, looking at places like Forever 21 and H&M to do some homework to see how can I keep my sense of fashion in budget. This is what I have so far. Let me know, if you have creative ideas that you would like to share.

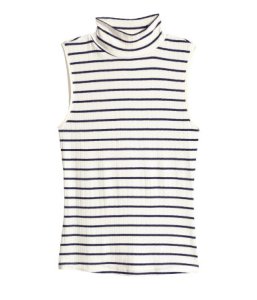
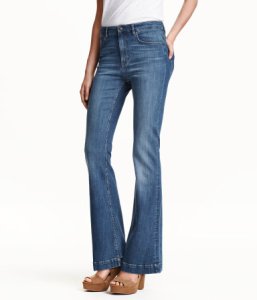
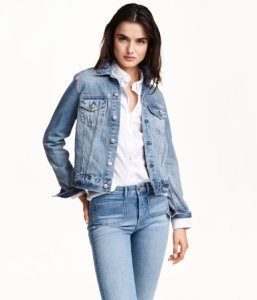
H&M Sleeveless turtleneck Top ($10)hmprod H&M Flared High Jeans ($50)hmprod (1) H&M Denim Jacket ($30)H&M Denim Jacket ($29.99)

The above outfit gives you the style you need at a reason and affordable price. I have mention in a previous blog, stripes, high-waisted pants, and flares are going to be a major major trends this fall, and you can show off great fashion trends with breaking your wallets.

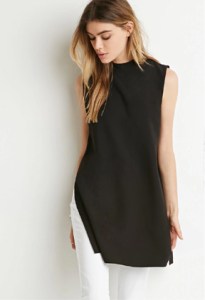
Forever 21 Mock Neck Side Slit Top ($23)

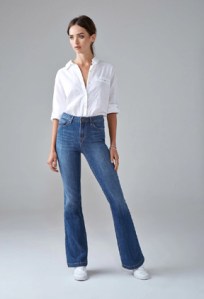
Forever 21 High-Waisted Flare ($28)

The above outfit is not only fun and cost just little over $50. I for one find this style fun and affordable. I love it’s retro look of the side slit top. The high-waisted flare jeans are is hot right now and it cost less then $30.

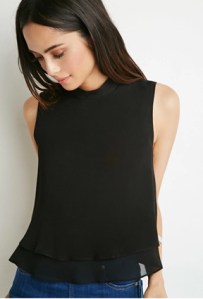
top
Forever 21 Layered Crepe Mock Neck Top ($18)

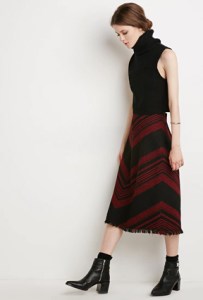
skirt
Forever 21 Frayed Chevron-Patterned Skirt ($28)

The above outfit is not only fun and cost under $50. The top has a fun layered look contrasted by the frayed chevron-pattern of the skirt. The outfit is fun and is affordable at the same time.

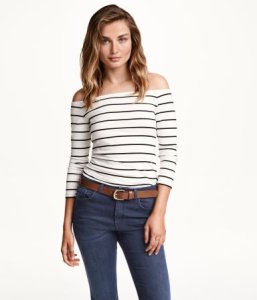
H&M Off-the-shoulder Top ($10)

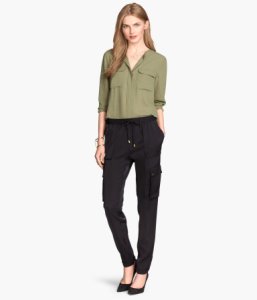
H&M Pants ($35)
H&M Pants ($35)

The above outfit cost under $50. The top is stripped with fun with off-the-shoulder top and pairing with jogging style pants with patched pockets. You pair it with a nice heels and wallah, you a wonderful stylish outfit that will not break your wallet.

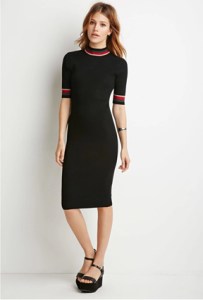
Forever 21 Striped-Trim Ribbed Dress ($25)

Last but not least is the striped-trim ribbed dress which cost only $25. You are dress it up with heels or down with sneakers. I had a great time finding these fashion trends under budget for you guys and I hope enjoy it. I would love hear about your budget fashion styles. As for me, due to my Muslim upbringing, I would wear a black T-shirt under the mock neck side-slide top, like the textured knit crop top ($5). I would pair my chevron patterned skirt with embroidered lace boxy top ($18). I would pair the jogging style pants with jersey top in natural white stripe ($10).  Finally I would add some color to my dress with organic cotton-blend legging in chestnut ($6). Hence, there is budget fashion for every style. I would love to hear about your budget fashion find.

Don’t forget to check out my Facebook Page and follow me on Instagram @allaboutme3181.

———————————–   Happy Reading ———————————-

Instagram: @allaboutme3181
Are You Ready For the Fall?


Hi There! I know it that the temperature is still in the 90s here in the east coast. However, summer is almost over and kids are ready to head back to school and college students are ready to head to their fall semester. All you ready to embrace the fall season fashion wise. I know I am. It is know that easy. I will tell you all you need to prepare for the fall season to look trendy and embrace the season with head on in style. I went through the latest issue of Vogue, Elle, Glamour just find the fun fall fashion for you.

Blazer: First of all, blazer adds a polished to any look to fall wardrobe. I love wearing blazer with blazer during this season whether during the weekend with my jeans or with my dress or pants at work. So just take out your favorite blazer from your closet and you can dress up or down depending on the day. If you don’t have one. Shopstyle editors hand picked some for you.

amritasingh_bib

Bling: If you thought bling is gone you are wrong. Bling has come back this year. The sparkly jewelry has made a comeback this year. Hence, if you are a fan of this feminine trend then what are you waiting for? Go crazy, bring your inner bling out this fall.

Shoe: This fall, the shoes that will be quite hot is going to be is loafer heels. Boy, I for once am so happy to see that trend coming back this year with my weak metatarsal bones. Therefore, if you have not stacked up on these babies, get yourself loafer and you will be all set for the fall.

High-waisted pants: High-waisted pants is making a comeback this fall. I for one love this. This is because pants with waistline well above the belly buttons not only make your legs looks long and lean but also make your mid section looks small, and you can sign me up for that any time.

Flares: Did you throw away your flares from few years back? If the answer is no, then you are in luck. According to Glamour magazine, flare is one of Fall 2015’s most wearable fashion trends. So, take out your flares out of the back of your closet and put on your flares. Don’t forget to elongate your legs with heels or wedges.

Neons: Just like the 70s flares, the 80s neons are hitting the streets this fall. However, we are embracing this new trend in a more sophisticated way with neutral tone such as gray, black, navy or camel.

Shearling: According to the Glamour magazine, shearling coats are making a big comeback this year. I am so glad I did not give mine away. Whether long, oversized, cropped or vest your wear yours the way you love.

Sequins: According the September issue of the Vogue magazine, sequin is one fun trend to be enjoyed in fall. Here, we are talking about title sequin and as mentioned by vogue, this “cascading high-wattage pillettes reveal a new breed of disco dream girl.

Plaid: Plaid is another hot trend for fall both according to Elle and Vogue. It gives a crisps look. You can find your look in places at easy as Target. To check out other plaid trends check out Vogue.

Neutral Lipstick: As I have mention in my previous blog, with all the fun fashion trends of neon, sequins, and blings go with a more neutral lipstick this fall. Keep it simple yet elegant.

These are some of the trends I thought I found to be fun from the fall trend. With everything fun coming this fall in terms of fashion, I hope you are as excited as I am. You don’t need to spend much to be in top to the current fashion trend. There is so much bargains and deals out there. You can get the same trends in places such as Target, H&M. I have seen so much sales even at The Limited , New York & Company and even Macys.  Hope you enjoy reading this blog as much I have enjoyed writing it. Don’t forget to follow me at instagram @allaboutme3181. or visit my Facebook page.

———————————–   Happy Reading ———————————-

Instagram: @allaboutme3181
Keeping it Simple but Elegant


Hi there! I know it has been a long time. First of all, I want to invite you guys to follow me on my instagram account @allaboutme3181. It is basically telling my story about my travel, beauty, fashion, food, and all things pretty through my lenses and sketches, and I would nothing more than sharing my story with you.  Today, I will try to my secret for how to look simple yet elegant using a bold statement necklace. I have a lot of pictures in my instagram page giving example. I will share some with you today.

11820480_487969038046363_1900408313_n


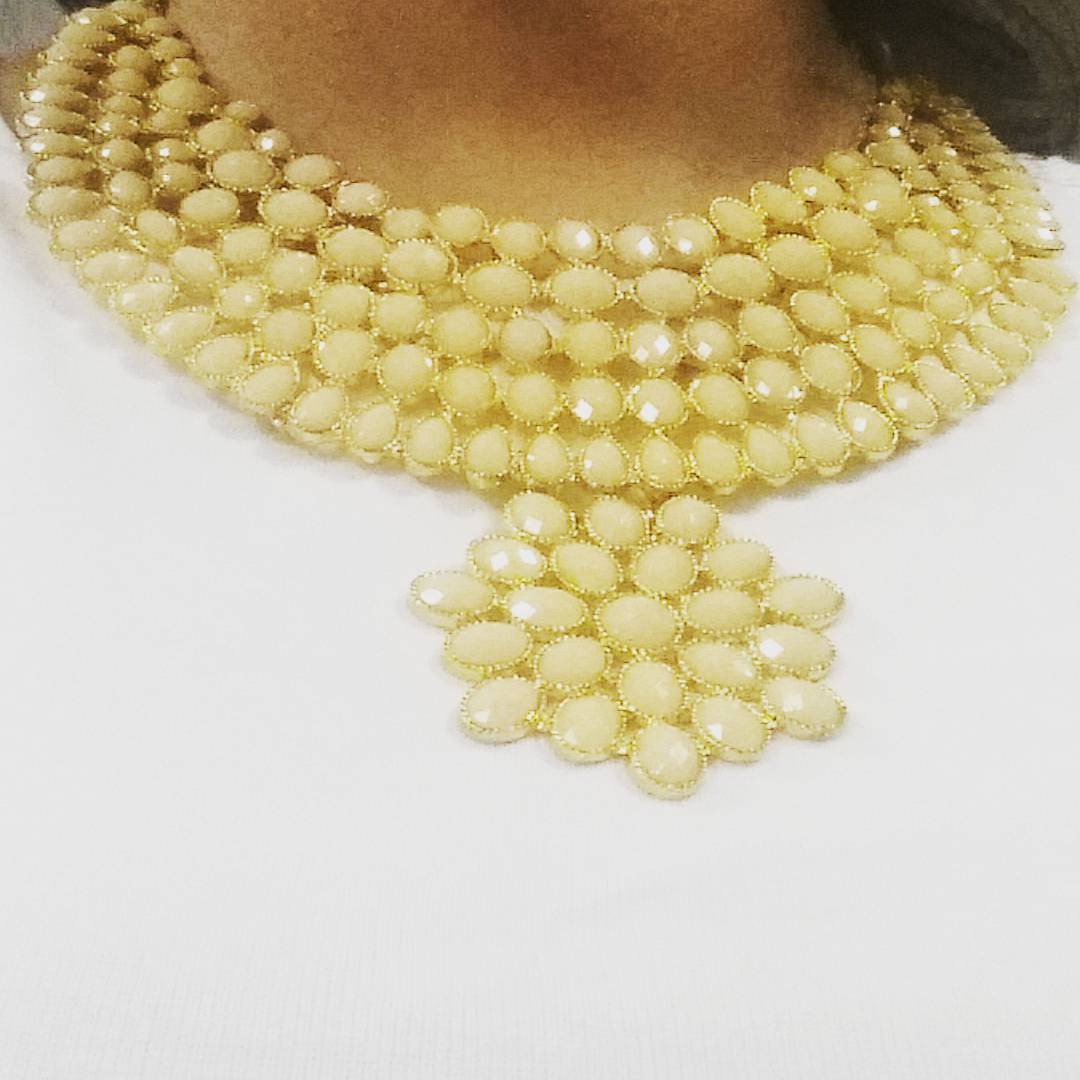
As you can see in the above example, this bold bib statement necklace from Amrita Singh since can be worn with a simple white t-shirt and a blue dress pant or dark skirt to dress up or denim to dress down yet such an amazing jewelry will make any simple outfit look elegant. You can look at the ensemble I wore with this jewelry on my instagram page.

11887298_876637822421478_1173416117_n 11820457_1643126555969046_747427092_n 11930842_1465462947113898_2033867387_n

11934788_1623231714601630_616621208_n

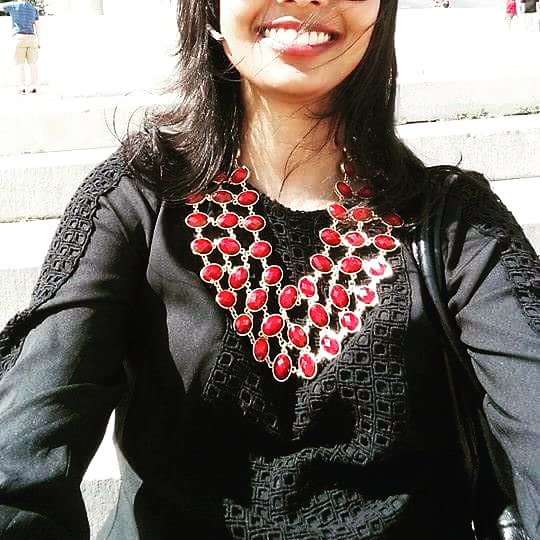
My second favorite statement necklace is that of Amrita Singh’s Reversible Bib statement necklace. You wear both sides of the necklace. I usually wear simple blouse or shirt with the necklace (as you can see with the above examples). I have received several complements on the necklaces. Even with a simple outfit the, necklace can make it look quite elegant. I recommendation is when you are going with bold statement necklaces like this, keep the outfit simple keeping the focus on the beautiful necklaces and you can never go wrong. Whether dressing up or down, just remember to keep it simple and remember just keep smiling you will just look elegant!

——————— Happy Reading ———————

Instagram: @allaboutme3181

My Makeup Secret


With just two days left for the holidays, I know the ladies you have worked hard to get ready preparing for the holidays and the party. Now it’s time to take care of yourselves, the dress, the makeups. Today, this blog is dedicated just for you because you deserve it. I am by no means experts in beauty or make-ups. I will bring today what I have come across through process of elimination through my own personal experience. Since, I have started using my new make-up regiment since last August, I have been getting non-stop complements on my make-ups because I keep my make-up simple, and today I want to share that step by step secret with you. Again, I am not promoting any particular product. I am just reporting what has worked for me. Perhaps something else will work for you. If you have a great alternative please share in your comments and we would love to hear it. I will also share some great holiday fashion that came across in Vogue magazine. Happy reading.

The first step before any make-up regiment, I always wash my face with my usual regiments and use my Body Shop Tea Tree Skin Clearing Toner.  I then use my usual moisturizing regiment.

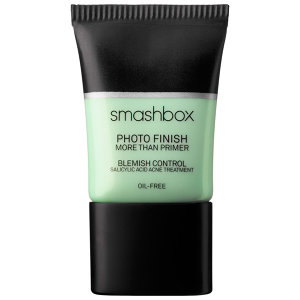
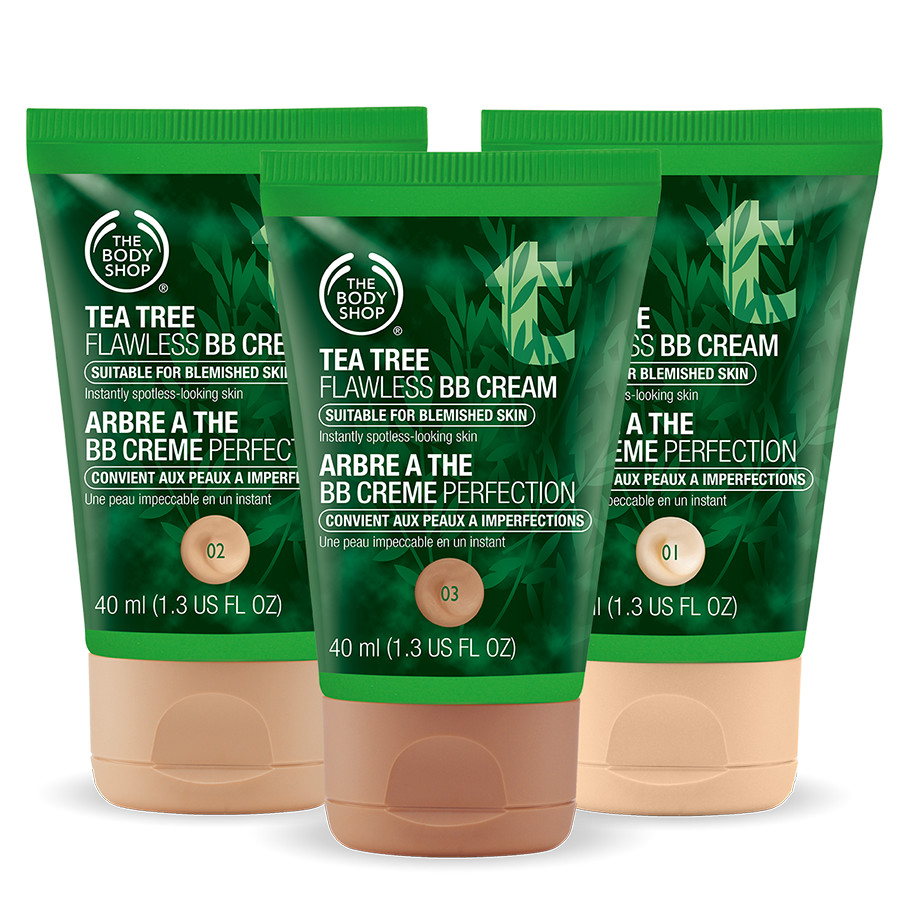
For the fist step of make-up, I use the Sephora Photo Finish More Than Primer – Blemish ControlIt can be layered under foundation without the worry of breakouts. It’s parabens, sulphate, and phthalates free. I follow the primer with a very light layer of Body Shop Tea Tree BB Cream. After my trip to the very windy and cold city of Chicago my face broke out in enormous blisters and acne with resulted in bad scars as a result I have to take extra precaution on myvery sensitive skin when comes to skincare. You probably don’t have to use this. However, I love this product it because it give my skin extra layer of protection and during weekends when I don’t feel like wearing foundation, I just wear this and I am good to go.

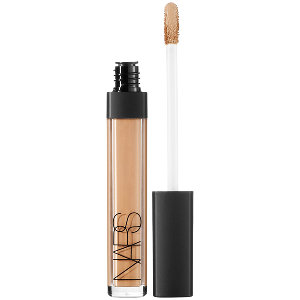
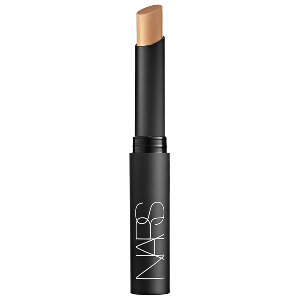
I next wear the NARS Radiant Cream Concealer underneath my eyes to cover my dark circles. Ladies, here I have to share a secret with you. In order to get rid of the crease with the concealer underneath your eyes, the trick is to mix the concealer with your eye cream. It works for me all the time. I put dabs of eyes creams and dabs of the concealer under by eyes and mix and walla perfect under eyes.  I then hide rest of my blemishes and scars with NARS concealer. The best thing about both of these concealers is that they come in make shades so there is a shade for every skin tones.

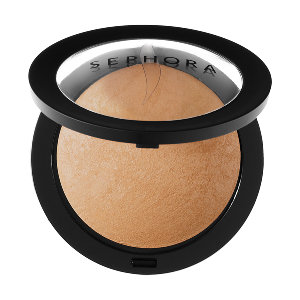
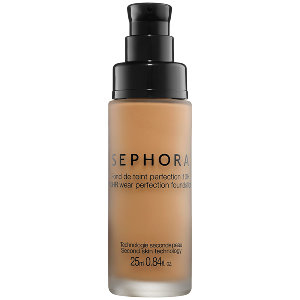
Once I cover all the flaws, I use Sephora MicroSmooth Baked Foundation Face Powder . I like this powder make-up because they are faster to use and less time consuming. More0ver, this is parabens free baked foundation which I prefer for my skin. However, when I am taking my time and what to use liquid make-up I use Sephora 10 HR Wear Perfection Foundation. This is a parabens free, oil free foundation which comes in my exact skin tone and provides great coverage.

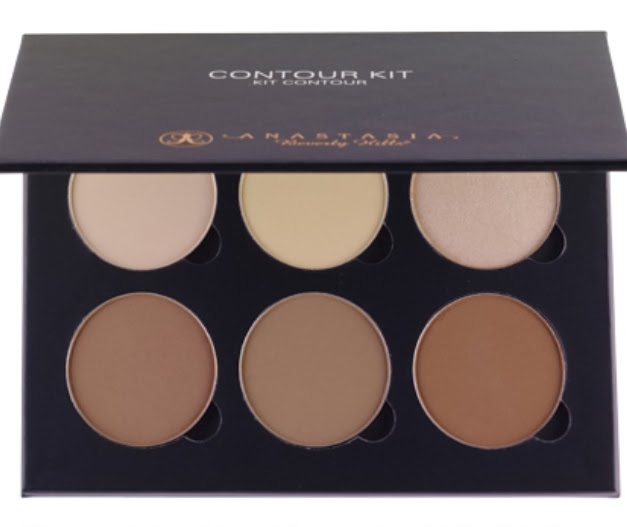
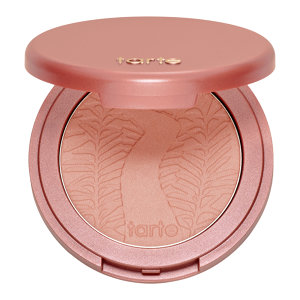
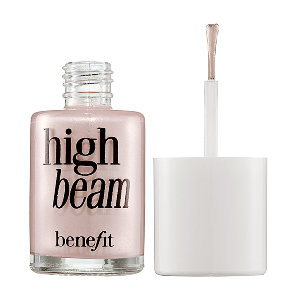
Once foundation is done is now, time to contour and highlight the face. This is where we get to bring out the best features of our face. I use products here. I came up with these products after few experimentation and recommendations from family and friends. I first use the Anastasia Beverly Hills  Contour Kit to contour and highlight my face. What I like about buying directly from the Beverly Hills Anastasia site is that I was able to custom make my own contour kit based on my own skin tone. After contouring, I use the Tarte Amazonian Clay 12 Hour Blush. The best thing about this blush is that is that it’s a baked nude blush that has buildable coverage. I use one last highlighter on my face that I absolutely love is the Benefit High Beam highlighter. I tap a little around my eyes and cheekbones and the result is fabulous giving me a luminous but never frosty or greasy look, it enhances coverage by bouncing light off the face. I use it high on cheeks after blush, I use it in in dark area by eyes, high part of nose and I use a tiny dot on bottom and top middle of lip for added fullness effect. A little goes a long way. I heard some people mixing it with their liquid foundation and got even better result.

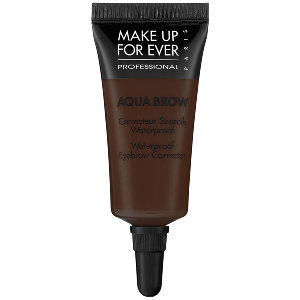
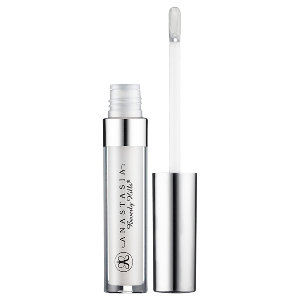
Once done with my face I then handle my eyes. To be honest, I don’t have the best eye brows hence I have to take extra care of it. However, one thing that I do have it that I do have a good shape, according eye brow person I used to go to,  and I try to take advantage of that. I don’t draw my eyebrow with pencil because that lead to more eye brows falling. I use the Make Up Forever Aqua Brow cream to draw my eyebrow along my natural eyebrow shape to enhance my eyebrow. I will share another trick with you here. I use mascara wand to brush my brows before and after applying the cream. It makes my brows looks naturally full and when I apply the cream it looks more natural. You can by the wand at your local beauty supply store or at Amazon. Also, I never buy the black color. Always get the same color as the color of natural hair color. Since, my hair is dark brown that’s the color I get. Since I started doing that and filling my eyebrows, everyone I met told that I have the most beautiful I brows, which is a great complement for me. I add Anastasia Beverly Hills Clear Waterproofing Gel on top of the brow cream even though the cream is waterproof for extra protection.

spray

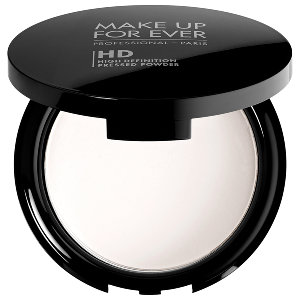
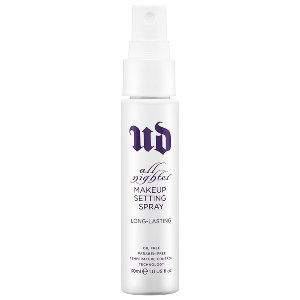
Then depending on the occasion I wear my eye make-up and lipstick. Just remember to use light eye shadow underneath the arches of the brows to define the brows. However, I always end my make-up the same way. I always set my make up by using the Make For Ever HD Pressed Powder. It’s a clear powder that softens the appearance of fine lines and pores. I then finish the look by using Urban Decay All Nighter Long Lasting Make Up Setting Spray. It keeps makeup looking just-applied for up to 16 hours. I cover my eyes with my hand and just am completely dependent on this product.

scan0001

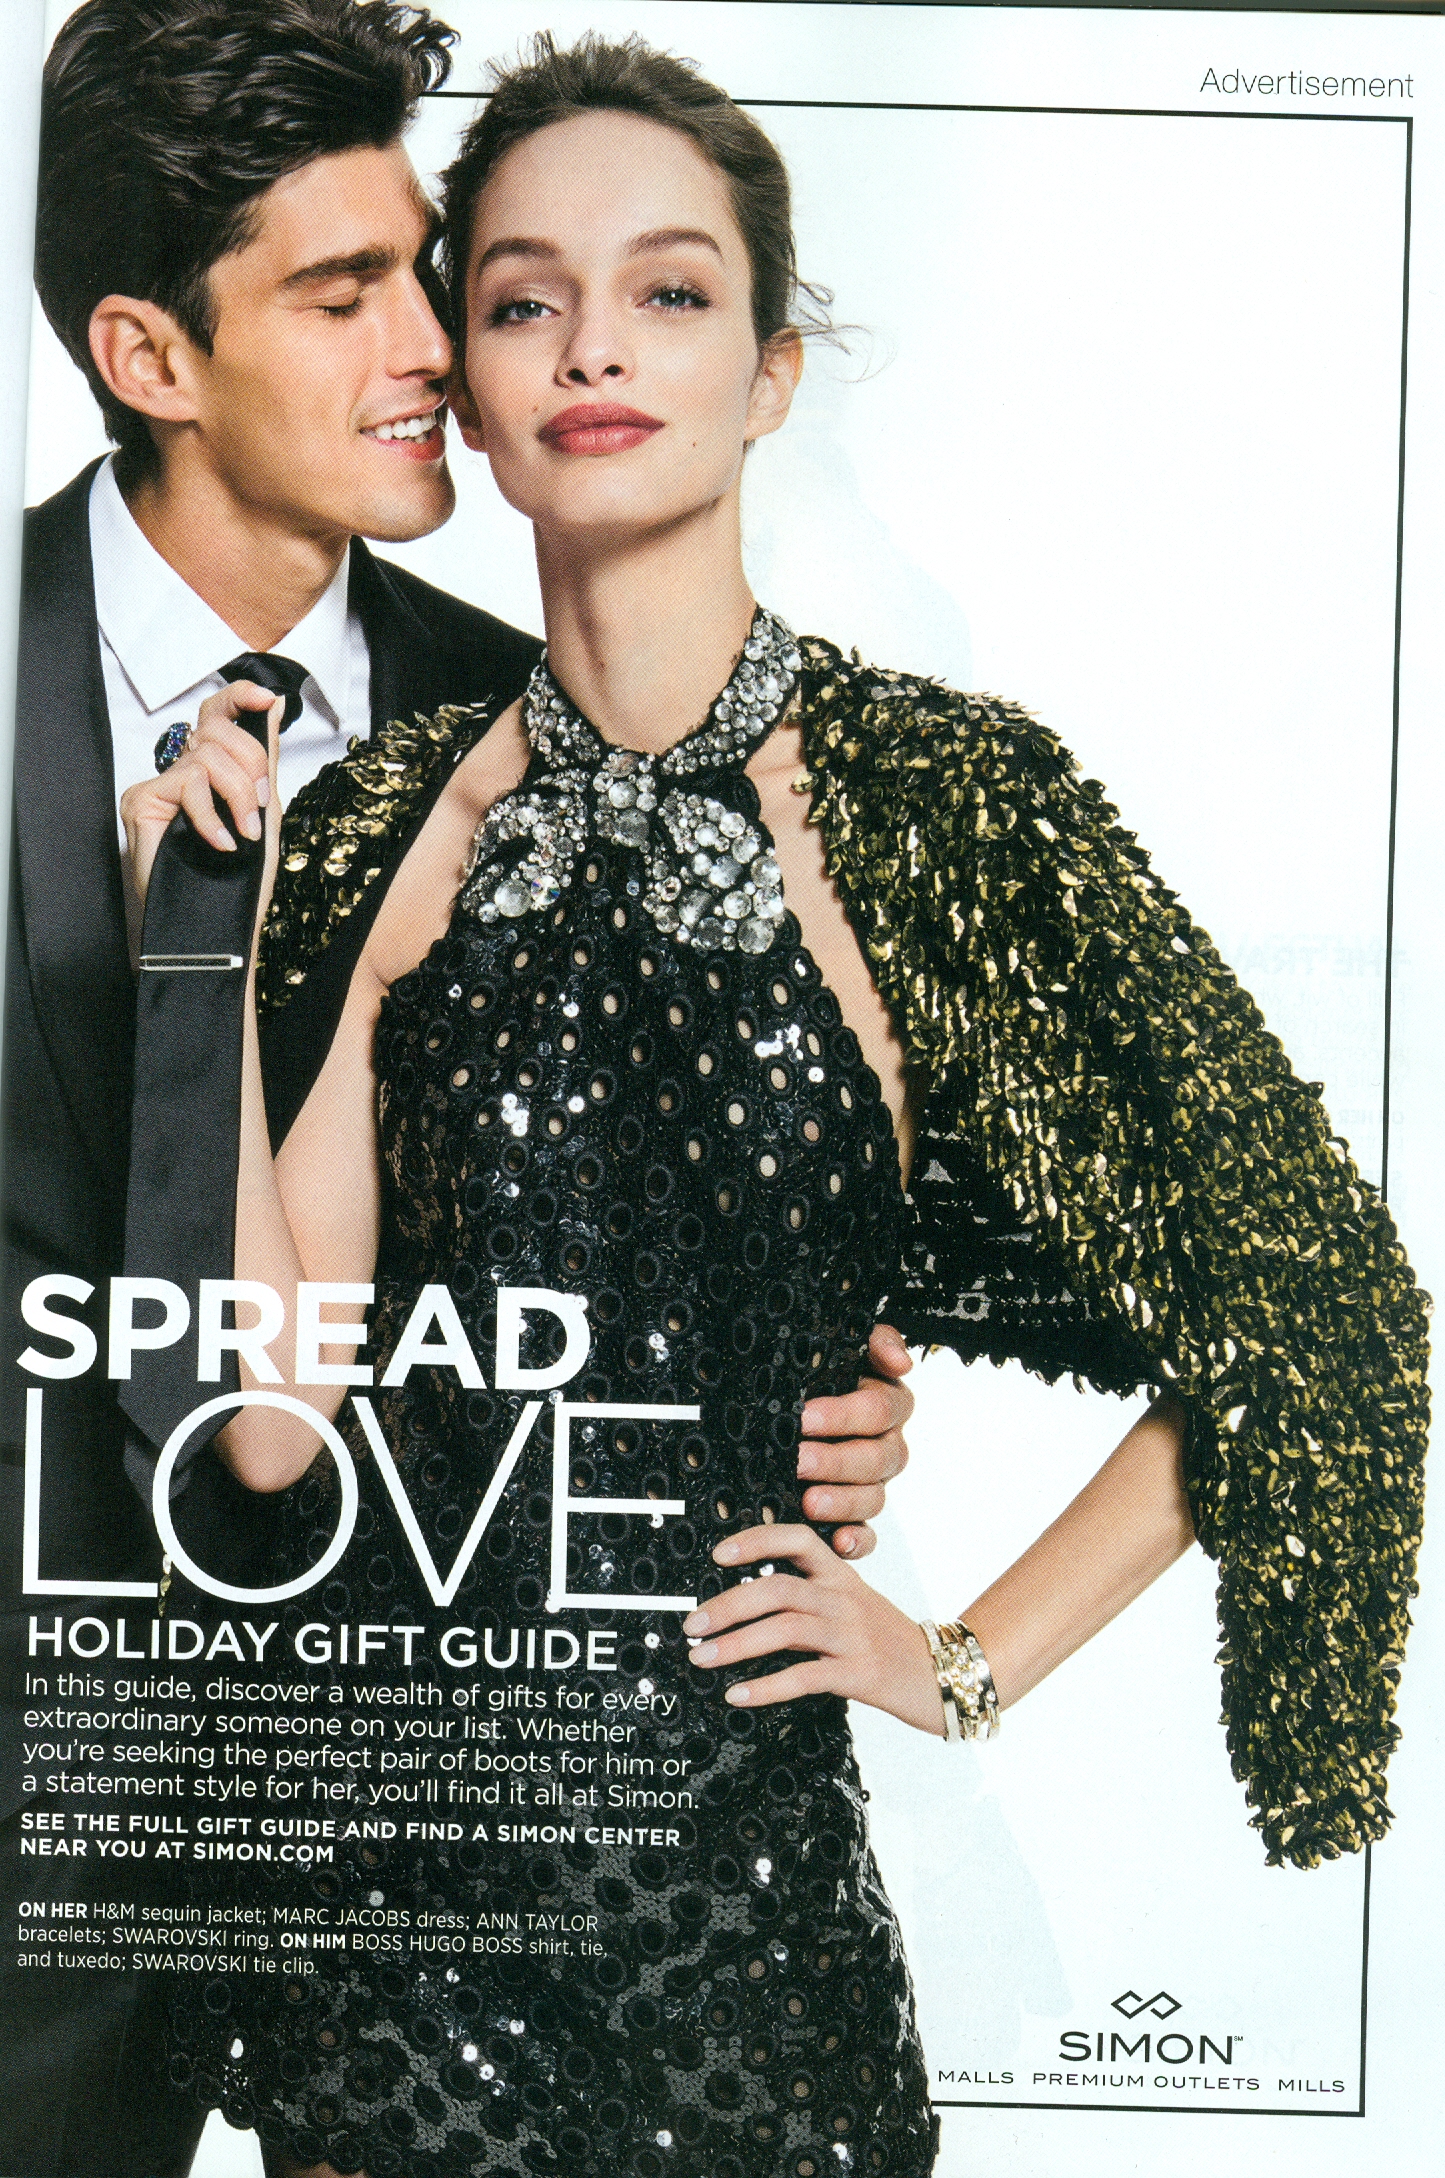
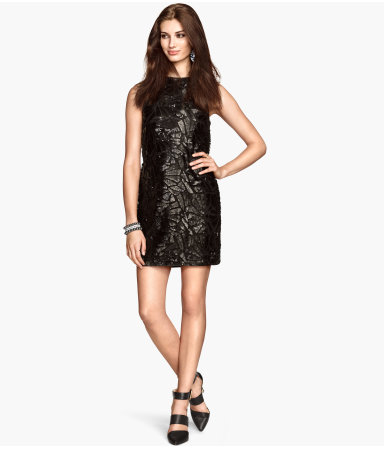
With Make Up done, I now want to share the holiday style features in this years Vogue magazine. Here, I found a similar H&M Sequin Jacket for $59.95. I found this wonderful dress that goes well with the jacket too that just cost $69.95 at H&M for you guys, or you can wear the dress by itself.

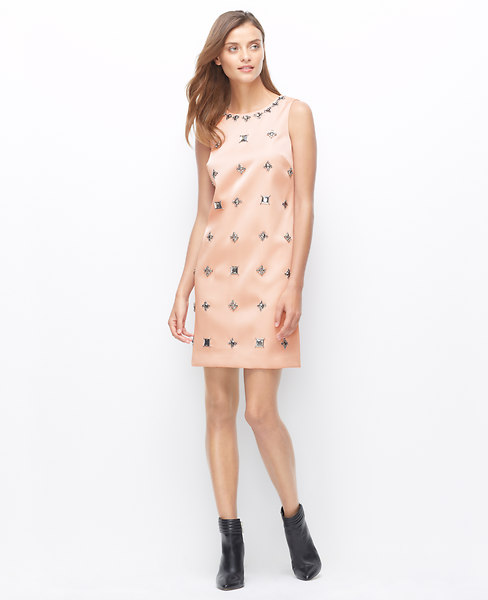
This beautiful dress from Ann Taylor Jeweled Shift Dress is also featured in this month’s Vogue’s issue is on sale for $149.99. You can additional 50% off with code WINTER50.

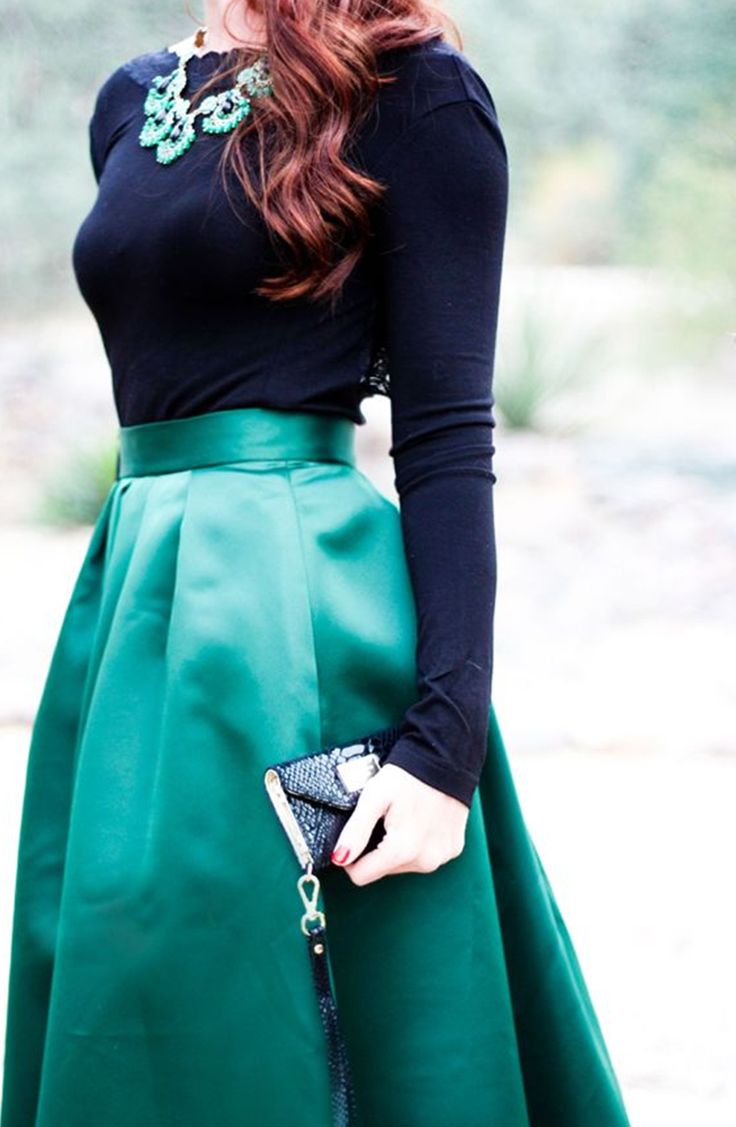
As for me I like to wear something simple but but elegant at the same time. That’s I love wearing my long green long with velvet circle’s it. It look’s absolutely amazing. It’s one of a kind because it’s handmade and I get complements from everyone. I accessorize the dress with my Amrita Singh Reversible Bib Necklace and I am good to go. Ladies, I hope you are all ready to pamper yourselves this holiday after all the hard works. I look forward to hearing you version of holiday make-up and fashion tips. Enjoy.